Friday, 3 October 2014

Making a Triangle Loom and a Wool Picture

How about this for a triangle loom?  One of the marvels of spinning camp.  Bex made it herself and it is big enough to weave a shawl.  The warp and weft are all made from one length of wool.
Fascinating technique.
Working a loop down from the nails at the top, one strand is then drawn across between the nails on the sides.   My companion, Elinor Gotland, has a good head for heights, but I suspect she wasn't entirely sorry when Donna took over - the crochet hook was awkward to carry while climbing.
There were a good few types of loom in use during the camp.  I knew nothing of weaving and was surprised how differently just the simplest warp and weft showed off yarn, compared to knitting. Never mind the function, though. To my mind, that big triloom was a thing of beauty in itself.  Utter pleasure just to stare at the threads spread across it, filtering the shifting angles of September sunshine.


Bex shared this link, which explains how to make and use a triangle loom.  What caught my attention was the line 'Each side, regardless of length, has the same number of nails or pegs; the distance between them is almost totally irrelevant.'  
Wow.  
How about abandoning the ruler and creating something arbitrary, a big entity with its own life, like the triloom on camp?  I was buzzing with the possibilities and bursting to express them.  

Saturday, down to the estuary to see what the tide had washed up in the way of driftwood.  Back in the garage that evening, I drilled holes and screwed together three solid pieces, then drilled a line of holes along the base using different diameters of drill bit.


With a bit of whittling, smaller sticks could be wedged into the holes to stick up as pegs.  Drop of wood glue and they were solidly fixed.  Even under the neon strip, the play of light and shadow was something to savour.

Straight back to the loom on Sunday morning, it took best part of the day to fit pegs on the two angled sticks.  Resorted to looking at images of proper looms online to confirm that you count the pegs on the corners in the total for each side.  Most awkward to find sticks straight enough to push right through holes to the other side of the curved piece.

My shabby spinning of washed out indigo dyed fleece turned out to be the right yarn to complement sunbleached wood.  Threaded up with shells and stones with holes, the weaving pattern started to emerge. Compelling effect, though the yarn sagged under the weight of clutter.

Every night I hurried home to work on this triloom. Unwinding the yarn off the pegs again, I plied it double, rethreaded just a few stones and shells and saw the weave complete.  Where the yarn had to stop being hooked round the top of the pegs and go underneath, round the pegs sticking out below the curve on the bendiest piece of wood, the fabric tended to slip off.  Core spinning some roving from the same fleece round a length of wire was a tricksy process - to make the wire rotate, I ended up fixing it to the arm of the flyer.  The first result was too chunky and too blue, the second attempt made a snake which did the job of securing the weave to the back of the sticks and came nearer to embodying an attentive force.

Finally, the fish.  The following weekend, I dyed silk in concentrated baths of japanese indigo leaves, using the vinegar method, making stronger shades of the colours in the woven yarn.  The basic shape was needle felted in white fleece and covered in silk.  Don't know now, but at the time, she seemed too flat, too loose, too crude, too shiny, overwhelming the driftwood's qualities.  So I cut her down to a smaller size and felted on another layer of dyed fleece, which has far less lustre than silk.


How I would love to show this triloom hanging on the wall, expressing all my intentions.   In abandoning the practical and going with the flow, I neglected to consider that there is no space big enough in the house.  Apart from which, that fish has more of the air of a medieval saint being winched up to heaven than struggling flesh and blood on the line.  Hey ho.  Back to knitting jumpers.  This is The Rod of Aesculapius and it was all about the transition.

Friday, 26 September 2014

Cleaning, Dyeing and Spinning a North of England Mule Fleece


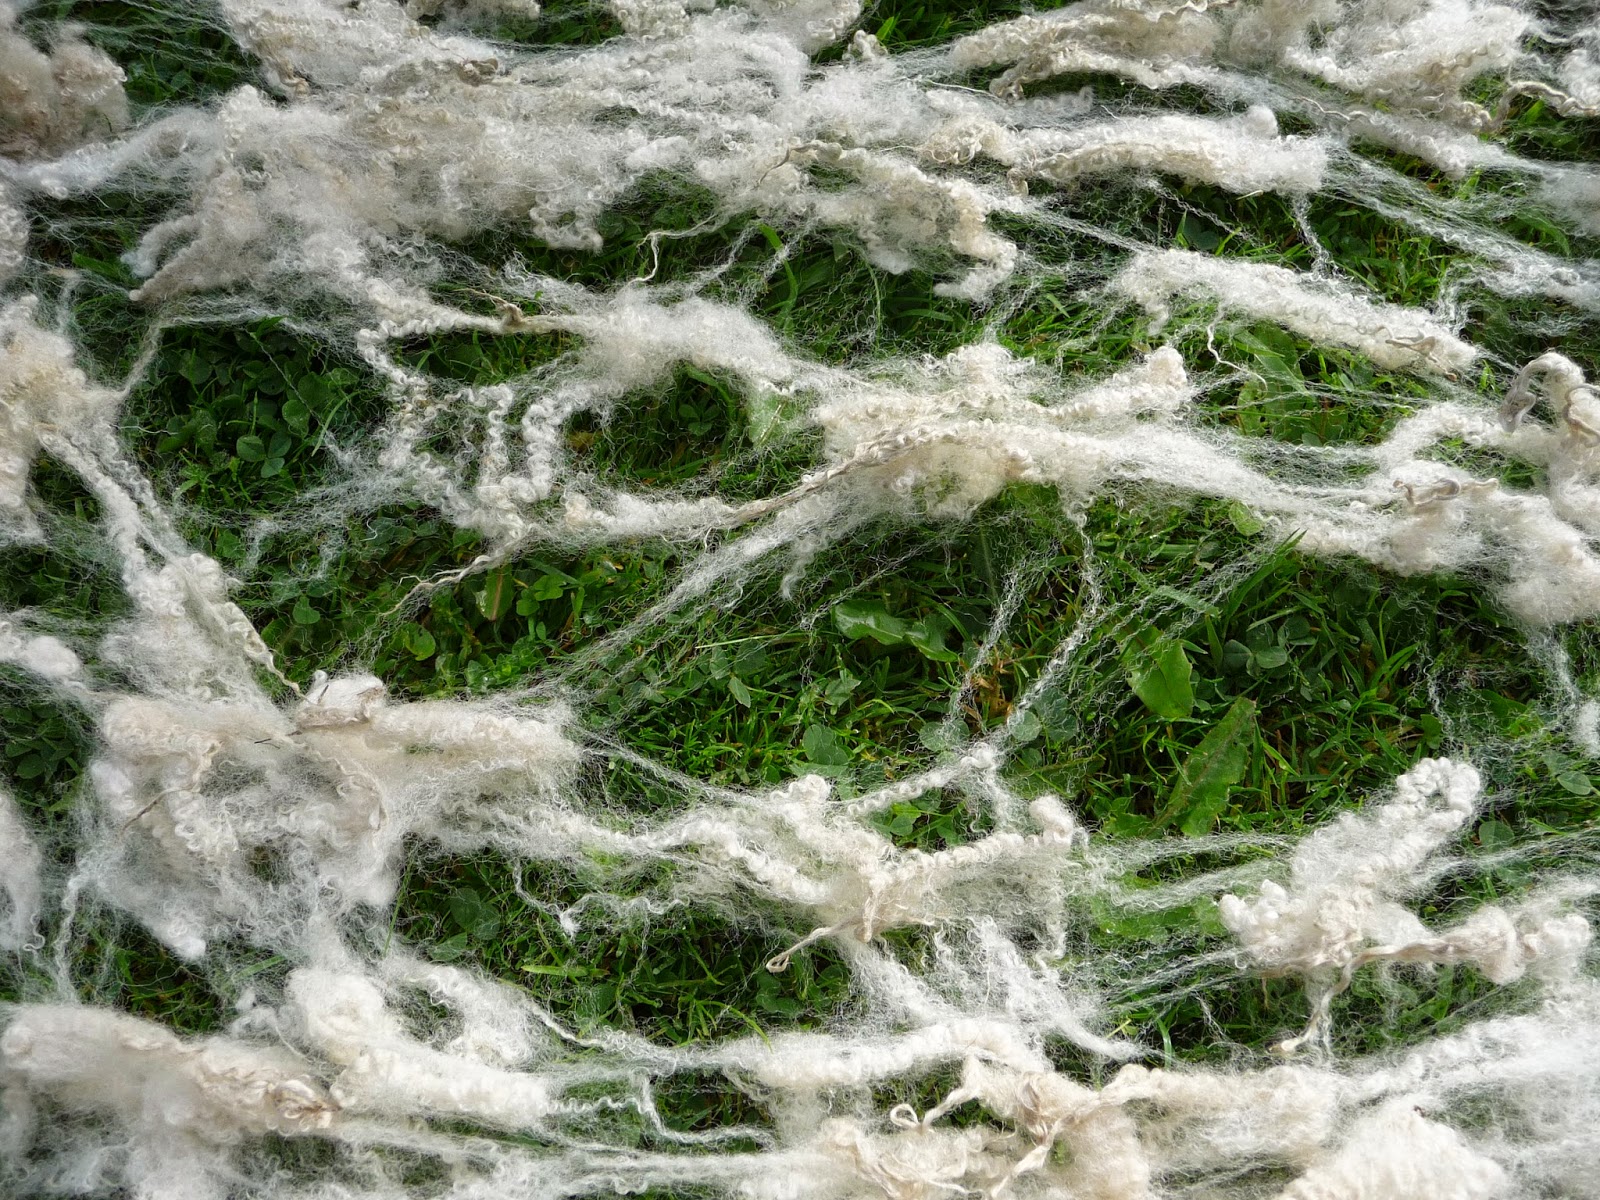
The sufferings of this Mule fleece have been considerable.  Here is how it began, as a very pleasing £10 purchase. Well skirted - all matted crap pulled off the edges. Open - see how the grass shows through 'windows', because the blanket, or underside is not felted together. Pretty clean - hardly any tangled vegetable matter.


Oh yes, I can pick a good fleece these days. To be truthful, I bought it from an expert spinner who really does know what she is doing.  In close up, these fibres have a staple length of 10-15cm, are white, fine and lustrous with a medium crimp tending to ringlets at the tip and a moderate amount of lanolin.  Rather a dream to work with and something I was looking forward to. 

Blue Faced Leicester (BFL) is a longwool highly esteemed by the cognoscenti.  They speak it having 'a good handle' due to fine, soft fibres and manageable staple length, but mutter darkly of the endless hassle of combing out its ringlets before spinning.  This is not a rare breed in the UK and commercially prepared tops or roving are easy to come by.  My enthusiasm for starting from the raw product persists, despite setbacks, so a Mule fleece ought to be just the ticket for me to work with.

All the offspring of BFL sires are called mules, though their mothers could be any kind of hardy ewe. This fleece resulted from a cross between a BFL ram and a Swaledale ewe, so the sheep who grew it was called a North of England Mule.  All very confusing, having sheep called mules. Such was my ignorance, I had half an idea mule fleeces might come from a small, fluffy horse.   On Lambing Live last spring, they did a short piece about sheep breeding, which explained some of the complexities of farming to produce lamb to eat.   The paternal BFL influence gives mules reliable fertility and plenty of milk - ideal qualities for them to produce the final generation, which is a crop of lambs for market. The fact that BFL genes also improve the mules' wool is a complete bonus for spinners, as shearing is just a time consuming and expensive part of keeping sheep, from the meat farmers' point of view.  The Swaledale is an old established breed from the Black Faced Mountain family, habituated to withstanding cold, wet winters in the hills of the Lake District.  Accordingly, its fleece is rougher and contains kemp fibres. Typically, the Mule fleece will be coarser than pure BFL, the trade off being less tightly curled ringlets, making it easier for a hand spinner like me to prepare.

This is a wool that likes to felt and is not heavy with grease, so I thought a long soak in my suint vat would get the dirt and enough of the lanolin off without agitating the fibres and matting the whole thing up.  I could have been right, only I left it too long and forgot to put the dark cover over my clear plastic vat. Oh disaster. The whole lot went dark green and dripping with algae.  I had to trudge around the garden doling out smelly pea soup suint water 
onto the borders from a watering can, then scrub out the tub before starting it again from scratch. The pictures show the new suint vat starting to soak another fleece from a local farm. This was from a North of England Mule crossed with a Suffolk.  An example of third generation breeding, this fleece is another degree coarser and less crimpy than BFL.  I'll use it to make something hardwearing like a rug or a bag.  I suppose the sheep was a meat lamb that did not go for slaughter, though I am not sure I have the nerve to ask Gwyn why he kept it. Properly covered, I have had no trouble with algae in the vat since then.

Meanwhile, the gloopy green North of England Mule fleece had had several all day rinses and drains in my second big container and lay neglected in the sun on the rack in the greenhouse, steaming, then parching out to a dry shadow of its former glory.   Some of it was too algae stained, only good for compost, but a big pile looked worth washing properly with hot water and detergent. 
I fully expected some harsh words from my companion, Elinor Gotland, who has a low opinion of my fleece preparation skills.  
"Still messing about with that poor mule fleece?  You could write Four Quartets about the time you've spent on this. At least a verse of East Coker - So here you are, in the middle way, lot of hours largely wasted, trying to clean fleece."
"Every attempt is a wholly new start, Elinor."
"A different kind of failure, Beaut.  Here, there is only the fight to recover what has been lost."
"Conditions do seem unpropitious. I think I am going to dye it in the wool, hoping the last of this dirt will fall out when I flick the locks to spin."
By the end of August, the Japanese indigo plants in the greenhouse had bushed out thickly after the July harvest.  I particularly admire the blue/green colour the leaves give using the vinegar method.  I cut back all six plants again.  Even after the stalks were discarded, there was over 500g of leaves to go through the blender.   This could be a winner, vinegar to soften the fibres and dyeing to camouflage the greyish cast left on the locks by the algae.

Although the dye strength with vinegar is low and the fleece weighed over a kilogram, divided into portions, it all went through at least an hour soak to get the benefit of the vinegar and pick up whatever colour sucessive dye baths had to offer.
Variations on a marine theme - lovely. I used a dog brush to open up the locks and cheerfully spun a fine single from randomly selected tufts of Mule fleece.  Each venture may be a new beginning, but this method took an age to fill a bobbin and I wanted to see how the wool would turn out.


Hurriedly Navajo three plied and washed, the yarn is shabby, a general mess of imprecision at each stage of its execution.  Elinor observed that it falls short of T S Eliot's vision of the wave cry, the wind cry or the vast waters of the petrel and the porpoise. Then she relented.   "Chwarae teg, Beaut.  In the words of the man himself  'For us there is only the trying.  The rest is not our business.'"

Friday, 19 September 2014

Dyeing with Yellow Cosmos Flowers

Cosmos sulphureus, better known as yellow cosmos, is just as easy to germinate as all the common pink and white kinds and just as happy flowering away for months with little attention. Unlike other cosmos, it is a great dye plant.  This year, my seeds came from the plant's homeland of America, sent in the post by another dyer, so I knew these cosmos had to be the right kind.


The flowers only last a few days, but being picked often, they have been plentiful.  The petals dry out quickly for storing.  This pot has a mix of the fresh and the saved blossoms from a week or two harvesting five plants. Like many other flower dyes, the colour floods out when they are simmered for just half an hour. Polwarth fleece, mordanted with 10% alum, always takes a dye well.  I gave it a simmer and an overnight soak in the dye bath and got a fresh, clear orange.
After hand spinning, the yarn was washed in Fairy Liquid. This is supposed to be a pH neutral dish washing up liquid, but I guess the dyed fleece must have been a little acidic. The more alkali added to the soaking phase, the more rosy the cosmos colour becomes, until it is almost a sunset pink. Still, alkali is not good for wool's texture or durability, which limits how much I'd use it.
Using a ratio of more than one to one fresh weight of flowers to wool improved the depth of colour.   Another dye bath with a Down type fleece came up stronger but duller, I think the surface of the wool fibres is structured differently to Polwarth. Adding more fleece to the spent bath for another simmer gave a nice creamy gold.
On Spinning Camp a couple of weeks ago, I saw a demonstration of how to spin from silk hankies. Intrigued, I bought a pack from Wild Fibres and cold mordanted them for 24 hours in water with 10g dissolved alum.  Silk hankies take ages to soak through, the thicker edges really resist wetting. In future, I'll give them a whole day in plain water first.  These were simmered with about 4:1 ratio of flowers.
This summer's experiments contact dyeing with hardy geranium leaves have been so rewarding that the afterbath was always destined to be tried as another background variation.  As described in earlier posts, leaves were scattered on wet, mordanted habotai silk, this time adding cosmos flowers, black hollyhock 
and red geranium petals, rolled round a section of drainpipe and tied up with string soaked in iron water. After a couple of hours' simmer, the silk on the outside looked a lovely dull olive green.  Leaving the roll to dry out, I dyed some more Down type fleece and put a few orange silk hankies back in to get their colour modified by the iron.  All more brown than green when dry, but once the silk had had a wash and an iron, the brown-olive cosmos dyed edges did compliment the contact dye.

The contact prints of the cosmos flowers are just orange smudges, this time, the black hollyhock petal marks are more blue than purple. The coreopsis flowers made their usual sharp prints, but shifted toward bronze, compared to the buds I printed last month. Bless the hardy geranium leaves - less colour now, but still making leaf patterning.
Here are the silk hankies.  Parts that never did soak through with mordant or dye have stayed white.  The one in front was soaked in dissolved soda ash for 20 minutes, which brought the colour up brighter and rosier. the one on the right went brown with the iron modified afterbath.  The layers will still peel apart, but it takes time to tease them out.  Preparing enough silk to spin a bobbin full would take time.
"Studying the Cosmos, is it, Beaut?"  Elinor Gotland tweaked the end of my first attempt to draft out a silk hanky for spinning. "This would be string theory, would it?"
"Any more remarks like that and you'll be experiencing a Big Bang."
"Be a love and stick the kettle on."  Now I looked, Elinor did seem a bit peaky.  She winced as the sun brought out an orange glow in the cosmos flowers.
"Cosmic rays bothering you?  Better have a drop of gin in that tea."
"Spot on.  Gravity feels very strong today.  I blame the dark matter."

Friday, 12 September 2014

Dyeing with Black Hollyhock Flowers

Alcea niger, the black hollyhock, is not truly black, but darkest maroon.  I suspected that its darkness concealed an even wider range of dye pigments than I found in the Double Maroon variety last year. Though I sowed black hollyhock seeds late last August, the slugs had most of them.  Two plants survived, by July, enough to pick a dozen flowerheads and give them a gentle simmer before adding a modest amount of scoured fleece, mordanted with 10% alum.

The dye bath looked a rich wine colour.  The fleece came out grey. Perhaps I overheated it and killed off any blue shades.


Once I had collected another good handful of flowers, I put them in a solar jar with warm water.  It turned purple within half an hour.  Terrific - I put in a large handful of lovely Polwarth fleece to soak up solar powered purple. August was cloudy and damp, but four warm weeks ought to have shifted some colour into the wool.


Less heat seems to have meant less colour, but not more variety. How did all that glorious purple stay obstinately in the water? What could be done to fix it on the wool?  Pulling out the locks, shown top left, wasted a fair amount of tangled Polwarth fibres - top right.  Still, I had a go at flicking out the tips and spinning from the locks to make a fine fingering weight yarn.  Soft and pretty, but vanishingly pale grey.


Not the subtle and complex colours I had hoped for.  Slightly grubby looking Polwarth really and well, the other is just grey fleece. By the beginning of September, the hollyhock spikes still had a couple of flowers at  their very tips.  One more shot at extracting some purple.  Trusting the hardy geranium leaves to make a pattern, a few black hollyhock petals were scattered on alum mordanted silk.

Using the remains of a coreopsis dye bath with some iron water added, the strip of silk was wrapped around a length of drainpipe and simmered, using the same method as usual.

Adding iron to the coreopsis dye bath had turned the outermost silk a rich olive green.  Unrolling it to see what had happened to the inner layers, the geranium leaves had made a brighter yellow than earlier in the summer.  Though the petal marks were smudges rather than prints, the black hollyhocks had at last given up some purplish dye.
My companion sighed with content as she parked her arse on the silk. 
"Fair play, Beaut.  You found your Land of Heart's Desire."  Her tone was abstracted.
"Oooo.  I'm not the only one enjoying a purple patch, then."
"Away with Yeats' faeries, me."
 She sauntered off with a casual wave of her hoof.
"Elinor Gotland, come back with that silk, you mad old ewe!"  

"Let me have all the purple I have lost;
Work when I will and idle when I will!
Black Hollyhocks, come out of your grey world
For I would ride with you upon the wind."  
"The wind blows over the lonely of heart, and the lonely of heart is withered away."


Thursday, 4 September 2014

Making a Geranium Leaf and Coreopsis Contact Dyed Men's Silk Tie

"Fran, you abysmal chump, I appeal to you once more.  Will you please lay off the silk?" 
Ewes are not gentlemen.  
"It is true that once or twice in the past I may have missed the bus with regard to contact dyeing. This, however, I attribute purely to bad luck."  I gave Elinor Gotland one of my looks and tugged the white scarf from her hooves. 

I had splashed out on heavy habotai silk, planning to cover two dining chairs, but once scoured and mordanted with 10% alum, the fabric clearly wasn't heavy enough for upholstery. Harking back to my best outcome at leaf printing with hardy geraniums on light habotai silk, I recalled that the whole pageant of glory had sprung from the iron soaked ashes of a disappointing meadowsweet dye bath.  The afterbath from my last attempt at dyeing with Black Eyed Susans was sitting in a pot in a similar situation, awash with iron modifier.


Let fortune favour the bold. It might have cost £15 per metre, but that silk was no good to man nor beast lying in a drawer.  The photo shows hardy 


geranium leaves and little budding sprigs of coreopsis laid out on a 30cm wide strip of wet silk. Here they are rolled tightly round a piece of drainpipe before and after a simmer in the remains of the Black Eyed Susan dyebath. The bundle was left to soak overnight and then dried out for 24 hours. Below, untrammeled delight.


The background dye has come out a soft grey/brown, the geranium leaves are more green than they look in the photo and the stalks and buds of coreopsis have printed a sharp edged rusty orange.  I was knitting the brow a bit and chewing the lower lip dubiously, but the colours did not run when hand washed with wool wash liquid or when pressed with a steam iron.  Elinor Gotland pointed out that I already possess quite a few silk scarves and was in the process of executing a quiet sneak for the door, hindered only by the weight of the fabric.  It was then that my daughter whacked out a truly juicy scheme to benefit an in-the-soup mother in her hour of travail.  Why not use this to make a silk tie for Steve's birthday?
I unpicked an old tie with stains down the front.  Amazingly long, well over the 137cm width of the bolt of silk I cut the scarf from, but on looking closely, the old tie did have two diagonal seams in its length.

Using the old tie as a template, I drew its outline onto the fabric. Silk is a devilish slippery customer to cut.


I even had enough left in this 30cm width to cut the two lining pieces and the loop thingy.
"The tipping and the keeper, Beaut.  And I think you'll find no decent, self respecting chap would wear a tie that hasn't been cut on the bias."


The spiritual anguish induced by Elinor's tactless speech was noticeably lessened when it occurred to me that my husband is no Bertie Wooster and has never rejoiced in the services of a valet.  He is not undiscerning, but what would really matter was getting the point of the tie right, with that little mitre and fold over before the seam with the tipping.


I did the little end first and could not disguise from myself that something had gone seriously wrong with the mechanics.  The old brain had been whizzing along, exceeding the speed limits.  Civilisation was in the melting pot and any thinking woman could read the writing on the wall.  At length, Elinor, that sartorially exquisite sheep, took pity upon my despair.
  
"Well, Beaut, your tie is never going to be quite the thing, but fair play, you may as well finish it right now you've started.  Hold the tipping and the end of the main tie with right sides facing.  Fold both in half down the centre line.  Now slide the tipping a bit less than a centimetre out, so that its fold is no longer snug against the fold in the main piece. Then slide it down so that the sloping edges of the two pieces match.  Pin the folded pieces together in that position and sew a straight line through the double fold 2cm from the point.  Now sew the seams along the sloping sides."

Easy to say, complete fiddle to do. Still, when I turned it inside out and pressed it, the big end had a much better approximation of a mitred seam.  The lining was a breeze after all that, just drew around the one from the old tie on an offcut of thick cotton interlining and slotted the ends into the the top and bottom pockets which the two tippings made on the tie.  


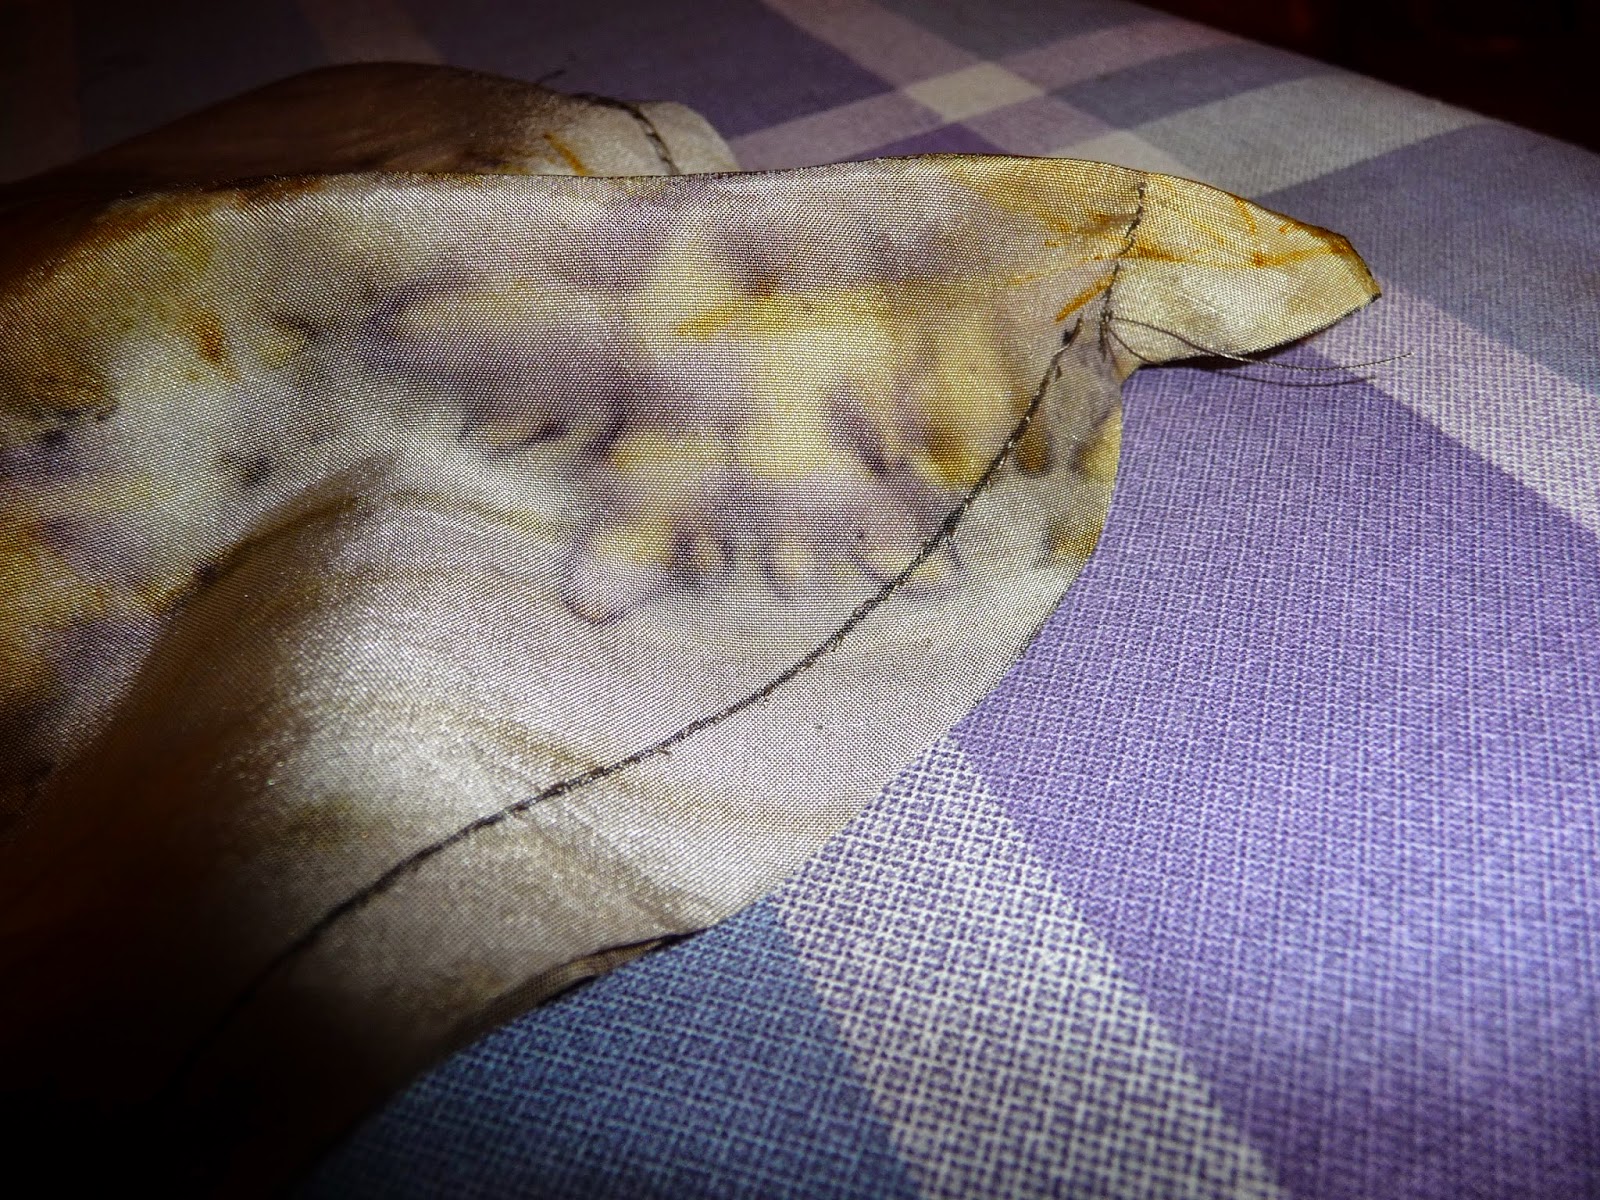
The lining guides the ironing over of the sides of the silk.  One side of the overlap has to be folded in along the middle and pressed, then all there is to do is sew up the centre seam, inserting the keeper.  I even sewed it all with silk thread dyed in the same bath.  Silk squeaks when you stab it.

"What ho, Elinor!  The place is positively stiff with happy endings!"
"I am glad to see that my efforts have been rewarded."

I wonder if sheep squeak too?


I