Friday, 11 November 2016

Plant Dyes for All Seasons 2017 Calendar

Update - 2019 Calendar now on sale - click here


"Another parcel?  Not Christmas for ages yet."  My companion, Elinor Gotland, grudgingly shifted her teacup so I could put the box down on the kitchen table and saw away at the layers of packing tape with a butter knife.
"This box, my tiny chum, should contain a manual spiral binding machine. The last piece of the jigsaw.  The answer to the final conundrum - how to wrap up my brainchild, the 2017 Plant Dyes for All Seasons Calendar, which is to be both an item of beauty to adorn the home and a practical guide for anyone keen to start dyeing with plants."
"Finished it, have you, Beaut?  Fair play, I thought you'd never be done with fussing over those dye projects.  Not til well into the New Year, anyway."


I'll admit, it has been a lot more difficult to make a Dyer's Calendar than I imagined. I wanted to create the introduction to plant dyeing that I wish I had had, when I started. Simple, succinct and hands on. There are many great books on the subject - I own several of them, as well as a couple I still can't make much sense of. My trouble with reading was that I only really paid attention to the colours, looking for the most tempting ones and working out which plants I could get hold of. The introductory chapters and the technical explanations never sank in. For these Calendar projects, one page is enough to cover the background essentials. 


In my early days, I boiled up loads of local vegetation and wondered why so many things I dyed turned out beige. This blog holds most of what I have learned since, piecemeal, through trial, error, luck and digression. All the experiences of past posts have been boiled down to make this calendar, structured as a beginner's year of learning to use foraged plant dye materials, 
growing a few of the best and practicing a range of core techniques suited to the time of year. Regular readers will be aware that concise is not my middle name and may wonder how such a woffler condensed her writing to one page per monthly project. I believe a mass of information is not everyone's thing and a dyer doesn't need to spend a lot of money, have a big garden or read a big book before starting.
In January, dyeing with onion skins, no need to worry about mordants, just learn how to tell the difference between a simmer and a boil and see how wool, cotton and silk take up varying shades from the same dye bath. Bark dyes in February lend themselves to trying out home made iron and copper modifiers, then in March, see the difference between using these, or alum, or no mordant at all for daffodil dye.
With the spring comes sowing and transplanting dye plant seeds, shifting the pH of a dandelion dye bath and having a go at hammer printing new leaves. Summer is the time to try using those home grown plants in dye baths, solar jars and for contact printing ecobundles, Autumn brings saving seeds, taking dye prints from fallen leaves and making tannin mordants from oak galls and acorns.
The idea underlying this calendar is that through completing a simple, seasonal project every month, building in a couple of basic principles each time, by the end of a year, someone new to plant dyeing could be set up to take on all sorts of challenges, without half as much grief as I have given myself.


Speaking of life's little tribulations, along came my companion to find me in a sea of accidentally upside down printed pages.
"Costed this calendar out, have you, Beaut? Hundred pounds a pop should account for all the lovely heavy paper you've wasted."
"I've got the method cracked now, Elinor. Optimal printer settings for the pictures, foolproof instructions to self for collating the pages." I pointed to a small stack of calendars. "Ready for sale at the Christmas Fairs for £7.50.  If I sell a dozen, I can cover my costs.  What's more, you'll never believe, I visited a wonderful wool shop in Pontyclun today.  Ammonite Yarns are now stocking my calendar for their customers."
Elinor flicked through a calendar to the blank back cover.
"I'm not being funny, Beaut, but you got to think of internet sales and marketing. A celebrity endorsement could shift a few of these. How about a personal message from a glamorous actress for your online customers?"
She laid her portfolio on the desk.
"Did you have someone in mind?"
"Oh, just to help you out, I'd be prepared to add that touch of stardust."

If you would like to be posted a copy of Plant Dyes for All Seasons 2017 Calendar, email me at tribulation2013@gmail.com and tell me which country you live in, so I can send you an invoice to pay by paypal or credit card, £7.50 plus a postage and packaging charge of £1.50 within the UK, £4.50 to Europe and £5.50 to everywhere else. 

I will send out your order within seven days of the invoice being paid, the delivery time will depend on Royal Mail and their overseas partners, if sending abroad.  Do remember, Christmas post is often slower than at other times of year.
I am a UK Sole Trader, trading under the name Rich & Strange Silk and Wool Work.


Anyone who fancies taking up Elinor's generous offer, just say so in your email, let me know the name of the person you are buying the calendar for and you shall have Ms Gotland's personal greeting printed on the back at no extra charge.


Update Tuesday 15 November 2016

I have been both delighted and staggered by the amount of interest in this Calendar.  More people have ordered one than I can keep pace with, doing the whole thing at home.  This has been marvellous, but anxiety provoking.  In order to make sure I can send out calendars promptly, I have asked the local print shop to make me 100 sets of pages, printing exactly the same content from my original pdf file.  I can still customise the back page whenever requested, since I will continue spiral binding the calendars at home. I saw the proof copy today and I consider the quality better than my own printer could manage, particularly on the card for the front cover, which has a much nicer glow.

Terms and Conditions
I will post via First Class Royal Mail within seven days of your invoice being paid.
If you have any questions or problems with the dye plant projects as you go through them during the year, please email me and I will do my best to advise you.
I will refund your payment if you wish to cancel within 14 days and return the calendar to me at Rich & Strange Silk and Wool Work, 29 Bowham Avenue, Bridgend, CF31 3PA UK. The purchaser has to pay the cost of return postage.

Friday, 4 November 2016

Hand Spinning Border Leicester Sheep Fleece.

"It's Wovember already and I haven't got a fraction of my Border Leicester fleece washed.  I meant it to be all prepared for a lovely month of spinning and celebrating wool along with the Wovember crowd."
My companion, Elinor Gotland, leant over to see the gauge sample I was knitting.
"How come that bit's got even fewer stitches per 10cm?"
"Well, I thought the fabric felt a bit flimsy for a jacket, so I spun thicker yarn as well as dropping down a needle size."
She looked at me and sighed.
"Another sample spin gone wrong.  Good job it was such a big fleece."


All in all, the Wovember plan was running way behind schedule.  It started so well. I opened my parcelled up Border Leicester lamb fleece from the Doulton Flock to find it had arrived together with prize winning credentials.  Laid out on the lawn, I could only imagine how one sheep managed to stagger about under the weight of so much wool. The locks were a good 15-20cm long with that nice crimp that doesn't turn into corkscrew curls and an enticing lustre gleaming through the dirt. I scurried round it, finding little need to skirt any manky edges off and not much vegetation to pick out. Though the quality did vary from the shoulders to the britch, all of the wool looked like a joy to spin.


Determined to wash it well without disrupting the lock structure, I sewed a long net curtain into six drawstring bags and laid parallel rows of individual locks inside each one, before rolling them loosely and leaving to soak.  After the cold soak, each bag full had ten minutes in a bucket of hot detergent, a pause to drain and spin, then three hot rinses and spin again, just like the experts say. The method did work fine, when I lifted the locks out of the bags to dry, there was no felting and no grease left, just a bit of dirt on the tips and some natural discoloration, which hardly mattered, seeing as I mean to dye the yarn anyway.


At that point, there was plenty of time in hand to prepare some samples using different techniques and see how the wool spun. Combing first. Seemed I had been all too effective cleaning out the lanolin, each stroke of the comb produced a 15cm ball of electric fibre fuzz, determined to loop over on itself and catch back into the tines, despite spraying with water and even adding back oil - which always seems daft to me.  I persevered, drafting it out into tops off the combs and rolling that to store as nests. At the wheel, using short forward draw, the long fibres seemed to spin finely, all by themselves.


The impressive staple length also made rolags a bit of a challenge to card, though much less electric than the combs.  I do love spinning longdraw, well, my version of it. I still haven't mustered the nerve for that chewing gum stretch just before you let the single run onto the bobbin. I did try flicking out the butts and tips and feeding some fleece into the drum carder - big mistake, the long staple made it hell to separate a dividing line to pull the batt off the drum and the process seemed to create neps in locks that had looked fine beforehand. No point spinning that, I put it away for felting.  Taking a dog brush simply to open up the tips and butts, I really enjoyed spinning a handful of locks from the fold, keeping my finger at right angles to the yarn for a semi worsted result, just like Jacey Boggs showed in her Worsted to Woolen video class.


Elinor found me examining my three Border Leicester yarns and the three swatches I had knitted from them.
"The combed worsted is the best.  Lovely lustre and it will give some drape to that jacket you're so keen to knit."
"I don't want it to hang round my knees. And the nests of roving don't lend themselves to spinning at double knitting weight."
"Make woolen yarn, then." She stretched the knitted sample. "Fullbodied and warm with more elasticity. That'll keep your jacket in shape."
"Woolen yarn pills.  I want to be wearing this jacket for at least a couple of years."
"So spin fine singles from combed nests and make three ply."
I couldn't suppress a groan.  She rounded on me.  "I don't know why you bother pretending.  It's obvious you can't really be bothered with a proper combed preparation.  You just want to tart about grabbing locks and spinning that lumpy stuff from the fold."
"Once it's knitted up, I think irregularities in the yarn will add character."
"Character?  What, like the old fortune teller at the fair or the nutter on the bus?"
"It's Border Leicester, rare, British and special.  It has character. I don't want to look like I bought a 'wool' jacket at the shops. I'm thinking #woolworks "
"Hah, you wouldn't know what to do with a hashtag if it bit you on the ankle."


It is never comfortable to be in Elinor Gotland's bad books.
"Did you see that the Wovember 2016 theme is The Politics of Wool? I'm going to write on my blog how wrong it is that manufacturers can call clothes wool, when really they are mostly made of synthetics. They wouldn't get away with that kind of misleading label in the food industry."
"How much pork do you think there is in the average pork sausage, Beaut? Or horsemeat in a beef lasagne?"
"Well, it's still wrong and I'm going to say so. Look -  #wovember2016 "
"Preaching to the choir, Beaut. Anybody who reads to the end of a blog about a rare breed sheep fleece already cares quite as much about wool as you do. Get out there and #bethechangeforwool "
So she volunteered me to spin and talk at the kids' old school.

Friday, 28 October 2016

Dyeing Silk Yarn with Madder Roots and Knitting a Lace Shawl

"Ooo Elinor, I've been invited to join in the Boo Knits October Mystery Knitalong!  The secret shawl pattern is called Taboo and it needs 100g lace weight silk yarn.  I'm going to dye this skein specially, to get a totally taboo effect." I nudged her elbow and she looked up from doing The Times crossword. "I'm planning a madder root blood colour. Slightly sinister and highly alluring, redolent of transgressive passion with a hint of murder. What colours do you think would be good for the variegated contrast section?"
My companion pushed her specs back up her nose.
"Red, is it?" She gave me a withering look. "Do bear in mind that hardly any sexual practices are still restricted by today's social customs and murder is illegal. A rather stronger prohibition than a taboo. Hmmm, for your totally taboo effect, we have to consider what really is socially unacceptable these days."  Elinor tapped the end of her pencil on the table.  "I suggest nicotine yellow with turd brown variations, redolent of the transgressions of the smoker who walks her dog without carrying poo bags."
"Oh, that's no good at all, I want this shawl to conjure up the dark forbidden, not pinch-mouthed disapproval.  Stop being such a miserable pedant and dream up a major drama for me."
"To be honest, Beaut, the only big taboo we've got left is asking people what they earn and nowadays, a monster is a woman who farts in public."  She frowned at her crossword.  "Tell me when you've decided what colour that would be."
Leaving my companion to her cruciverbal efforts, I reverted to less literal interpretations of taboo. Remembering how unevenly dye penetrated the silk hankies I put in my first proper madder root bath, this silk lace was soaked in plain water for two weeks before having 24 hours to cold mordant in a solution of 10g alum and was then kept wet til my dye bath was ready.


Changes to my original madder dye method included skipping any attempt to macerate the chopped roots in the blender, since they hadn't seemed to break down much, tying them inside the leg of some nylon tights, to avoid having to pick out a myriad of bits after dyeing and applying very gentle direct heat to the pot for half an hour, hoping to improve dye release, as the underfloor heating in the bathroom wasn't needed in August.  Otherwise, I dug up a madder plant from the same patch of the garden, went through the same routine keeping to the same pH, added calcium carbonate as before and waited five days. One of those changes to the method was counterproductive. No blood red, this time.


Even after checking the pH, massaging the bag of roots and reheating gently with the silk in the pot, you can see that once rinsed and dried, the final ball of silk yarn is a peachy shadow of the red I got on silk hankies the first time round.
"Call it 'Fresh Flesh', with a nod toward cannibalism, Beaut." My companion had come outside to join me checking the dyed silk in natural light.
"I see you took my advice about the smoker with no poo bags."
"The variegated bit was dyed with Dyers Chamomile before I put most of the length of the skein into the initial hot water rinse of the madder roots.  I thought I would pull a bit more silk out of the rinse water every day and get progressive shades from yellow to scarlet. Looks more like all the dye got taken up on the first day, because I can't see much of a gradient.  Anyway, it's not turd brown, it's dark ginger."  I sighed gloomily.  "I'm not even sure the two skeins are going to look good together.  Too late to do anything else now, Clue One of the pattern gets released tomorrow and I'll have to knit like the clappers to keep up with the crowd."


The body of the Taboo shawl turned out to have lace patterning, got to concentrate hard from the very start, no mindless garter stitch rows.  All those repetitions eventually fixed in my subconscious, alerting me quickly to errors, so I finished the first section on time, without major crises.


Clue Two brought in new patterns for the contrast yarn.
"Might look alright after all.  Not really Concept Taboo, though."
"It's all in the name, Beaut. You could call those colours 'Old Blood Seeping from Dead Fatty Tissues'. A Zombie dinner."
"You can take your morbid anatomy and stuff it up a pumpkin, Elinor."


In Clue Three the beads came into play.  I thought gold ones would echo the yellow in the variegation colours, but being clear glass, not opaque, the peachy yarn showed through, dimming their impact.
"Gold medals for Fu Yuanhui talking about her periods at the Olympics?"
"OK, Elinor, better to break that daft taboo than take up necrophagia."

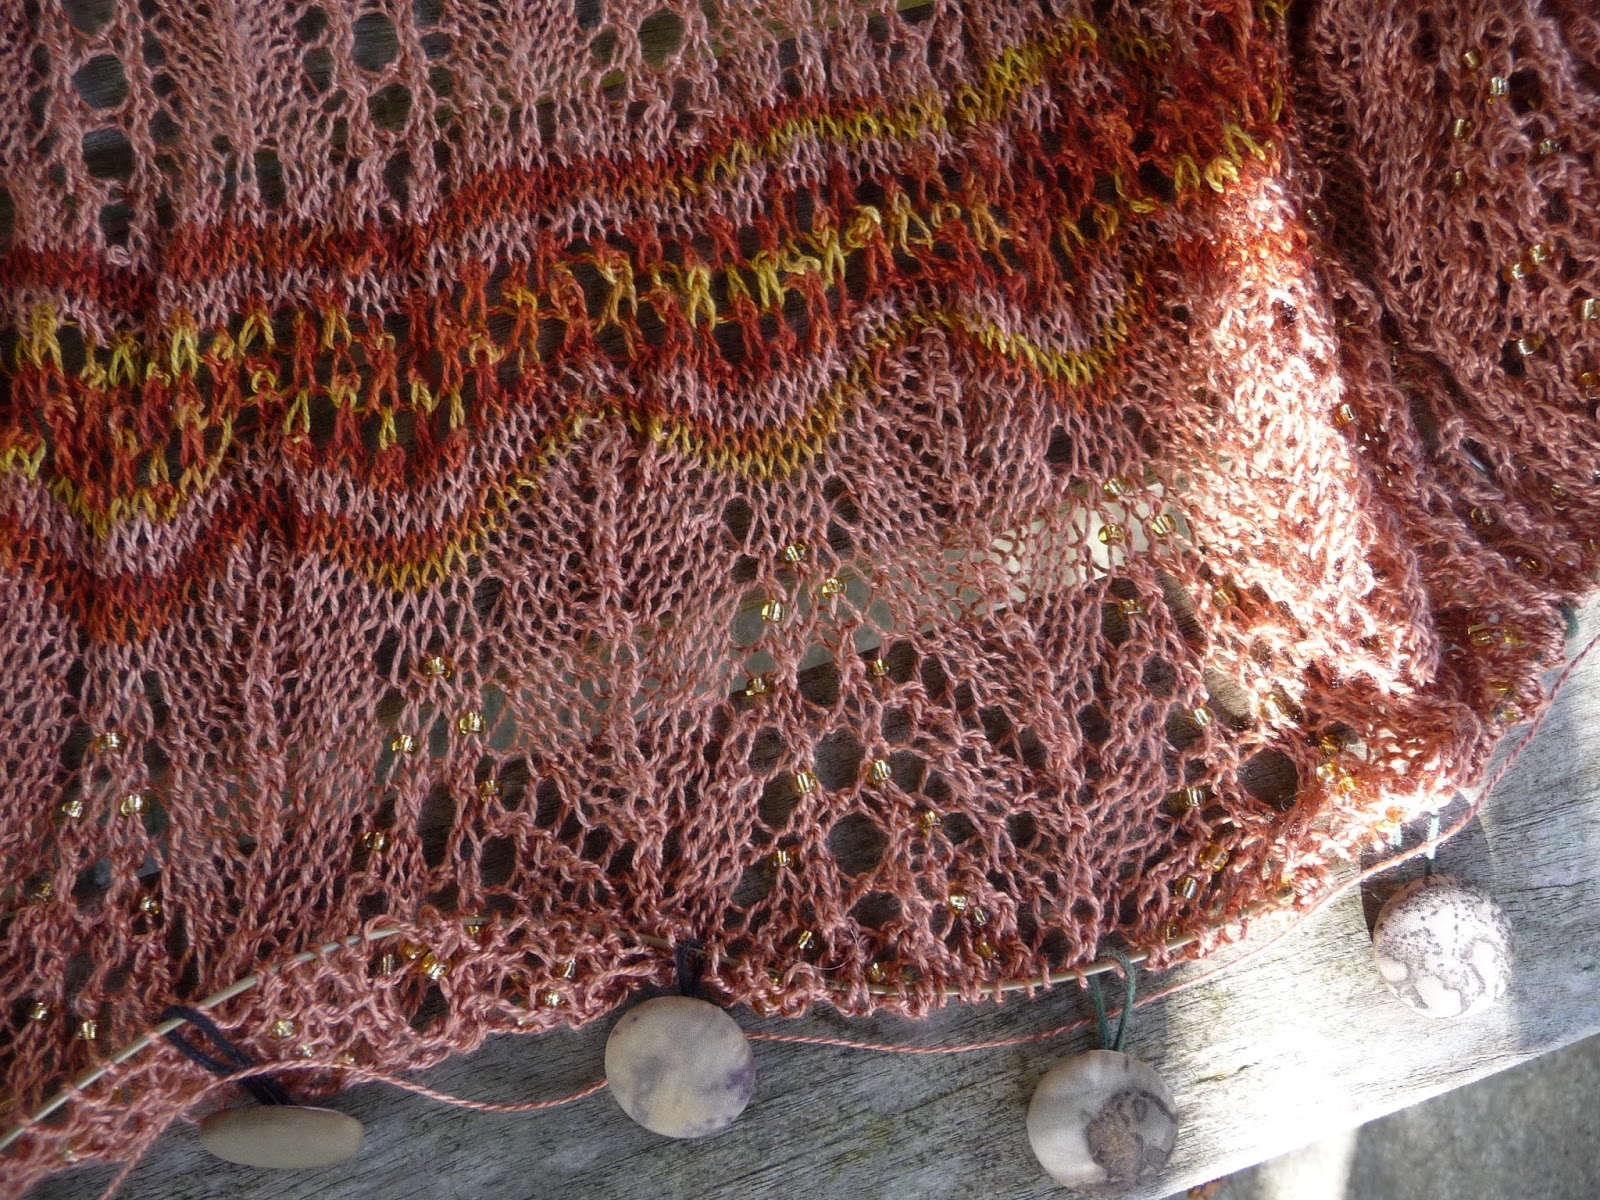
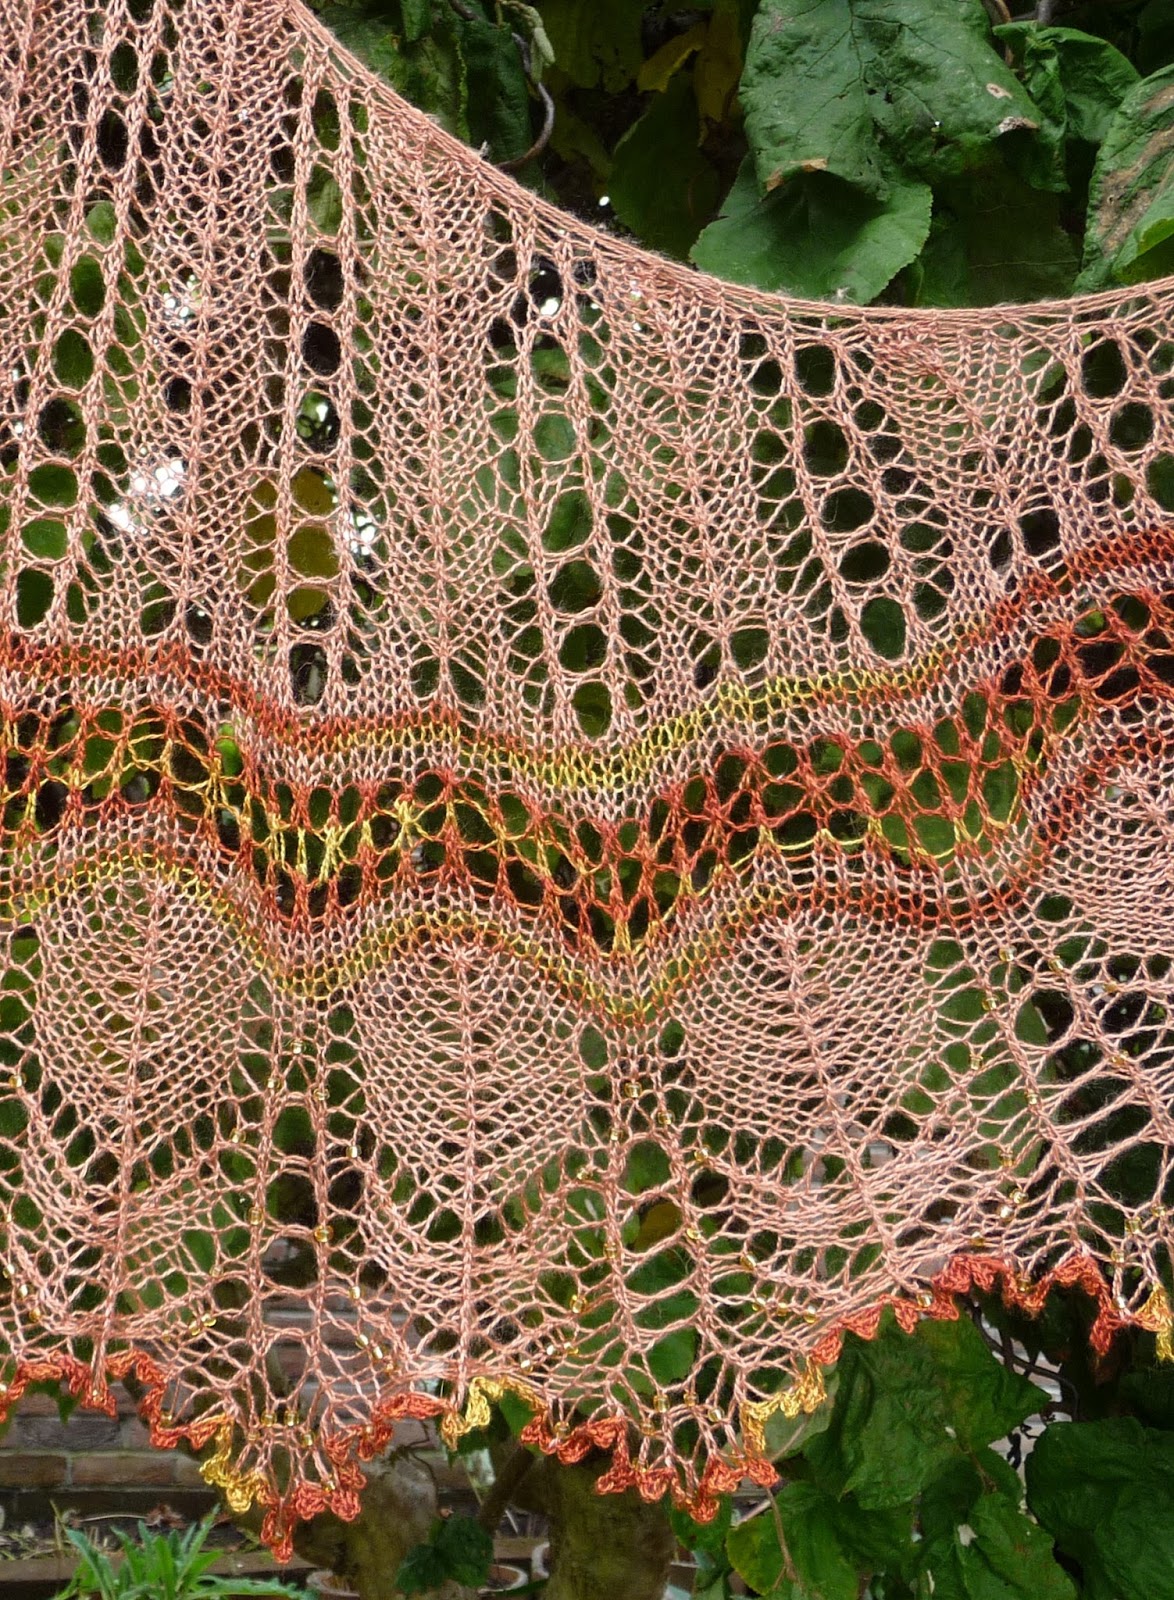
The final Clue included heavily beaded rows and a tight picot bind off, which I did in the variegated colour, as I had plenty left of my 20g skein.  Some of the group were demon knitters, way faster than me.  It has been fascinating to see how all their choices of colours and beads have worked out.  Although far behind the leaders by now, I finished this week and have decided I do like my colours, even if pink and ginger aren't going to get me an ASBO. The Taboo pattern is another beauty, clearly laid out with the written instructions I prefer, as well as charts, leading you safely through the maze of stitches to a glorious finish.  I do enjoy the way blocking reveals intricate lace only at the very end of a project.  Knitting with laceweight silk was no more difficult than wool, it slips easily and doesn't split, giving a strong, smooth and wonderfully drapey luxury fabric.


"Think I might call this shawl 'Hannibal'."
"As in Lecter?  Or because it took as much effort as getting an elephant over the Alps?" 
"Buzz off, before I fit you with a mask.  Then we'll have some Silence of the Lambs."

Friday, 21 October 2016

Spinning and Knitting a Braid of Dyed Zwartbles Wool and Silk

Past experience of spinning two raw Zwartbles sheep fleeces would never have inclined me to blend them with silk and certainly not to dye the dark brown locks. I thought its warm, natural colour was the best thing about Zwartbles, the tough, springy texture set me to making rugs, crocheting bags and, got to admit it, lining plant hanging baskets.  
Admiring a photo of a handspun hat, knitted in deep blues with a fabulous shift and gleam, I went looking for the source of the original braid of fibre at Hilltop Cloud online shop.  Not seeing anything like the photo, I assumed the colourway was all sold out. Even when specifically directed to the hand dyed 75% Zwartbles and 25% Tussah silk, I found it hard to imagine how a braid like this could spin up into navy shades.
Of course, I had to buy some, just to find out.  The first surprise was how soft it felt. Buying Zwartbles from a discerning supplier makes a world of difference. Taking into account the quarter of it that is silk, nonetheless, though the cleaning and combing process had not eliminated a recognisably Zwartbles type of body and bounce, I'd guess the sheep or lambs this fibre came from must have had finer fleece than I've handled before. Splitting the braid into two 50g pieces, I did my best to tear the first section lengthways into equal halves, hoping to keep the colours together when plying. Spinning fairly finely at a 15/1 ratio on my Ashford Traveller seemed effortless, most confidence inspiring.  Though the blend is not homogenous, a single could be drafted out smoothly, working back and forth across the top edge using short forward draw, whether I hit a silky part or a woolly part. Enjoying myself and keen to see the plied effect, I had the first 50g skein of heavy fingering weight yarn finished in just a couple of evenings.


All that shiny purple and green was still there in the yarn, just muted by drafting the bright silk together with the dark Zwartbles, and somehow, the dominant colour was blue, though not navy.  The Zwartbles itself had taken up the dyes, though I've not seen this done, I believe acid dyes are applied directly to segments of the blended braid. When you look closely, the dark wool is also varied in hue.

Lots of electric blue dye coloured the water when I had given my finished yarn a bath and a couple of rinses.  Better give it one more long soak.  My companion, Elinor Gotland, found me using the time to trawl through all the hat patterns on Ravelry.
"Late supper tonight, is it, Beaut?  My stomach thinks my throat's been cut."
"Give me another minute. I know I've spotted some really interesting shaped hats in the patterns library before. Very distinctive.  I'll know soon as I see one."
"Woolly Wormhead."
"You can cook your own dinner if you're going to be rude."
"Search 'Woolly Wormhead'. Bet that's the designer you're after."
"Ooo, it is, too.  Six whole pages of her hats."  Elinor sighed.
"Filter the search for fingering weight yarn and you'll be done in no time."
Ten minutes later she was back.
"I'm not being funny, but himself has come over all faint with hunger.  He'll come down on the floor like a ton of bricks, if you don't get a move on."
I decided not to tell her the hat I really wanted was supposed to be made in double knitting wool.  Just pressed that button to buy 'Tucked' and tried not to think about the current sterling exchange rate.


This hat ought to be knitted in what must be a tight fabric, using 3.25mm needles and dk yarn.  I could get the correct stitch count on a tension gauge swatch using 3.5mm needles with my rather thinner handspun, though no doubt the effect is not what was intended. Thinking I could run up a hat in a couple of evenings and frog it if it didn't work out, I set off in cheerfully cavalier fashion.  A week later I was still at it.  Those funky ridge tubes are not intrinsically difficult to knit, but they do take a while.  Sustained by the excitement of seeing the next band of colour appear in another ridge, I pressed on with knitting my Tucked, despite unkind remarks from my companion about tea cosies and a secret anxiety that the finished dimensions would make an odd shape of any human head.


I'm delighted with the yarn.  In the finished object, the knitted colours have turned out very much like the subtle navy of that hat I admired on Ravelry and the Zwartbles/silk blend is smooth, soft and comfortable to wear against the skin.  I shall have to rethink my attitude towards Zwartbles and try some blending of fibres and dyeing on coloured fleece myself. The construction of the pattern worked out brilliantly, good fit, great shape. I shall definitely be knitting more of Woolly Wormhead's hats this winter. 


I'm calling this one 'Petrol Head'.

Friday, 14 October 2016

Needlefelting Halloween Witches with Stripey Socks

Black Llama fibre is silky when it lies in locks, rather wild and fuzzy when needlefelted.  The fibres must be quite scaley, because it does needlefelt quickly and securely, even when blended with silk, which I find a devil to stick onto to anything with a felting needle.  Last summer, I was very kindly given a bundle of black llama, specially for making Halloween witches.  This prototype was put together using the same method I learned for making wool fairies.  One of the fiddliest bits is getting a thin strip of roving to wrap smoothly round the pipecleaner to make the hands and arms smooth and neat.  Having knocked out quite a few fairies in the past year, I think the best technique is to twirl the pipe cleaner itself, rather than trying to wrap the roving round it.  
Just hold the fibre against the side of the pipe cleaner with light tension and use your other thumb to roll the pipe cleaner, letting the fibre wrap in a slight diagonal so it covers the length of the pipe cleaner, little by little. Witches need legs if they are to ride broomsticks. After covering two pipe cleaners with red wool roving, adding yellow on a steeper, open diagonal, gave a smashing stripey sock effect.  
It is a great deal easier to complete the legs before starting on the main construction.  The far end of the pipe cleaner was wrapped in black wool, the tip was bent up and wrapped some more to make boots with yellow laces sewn on.  My companion, Elinor Gotland, remarked that the witches she knew would have chosen stiletto heels.  


Mine definitely prefer Doc Martens.  Elinor also insisted that witches have long legs. Admittedly, the first witch I made had legs on the stumpy side. The next was positively arachnoid.


Trying to make the total length from the top of the head to the heels in a ratio of 3 to 2 with the span of the arms gave the best proportions. If you're not bothering with legs, it seems to me a witch looks most dramatic in a really elongated frock. Time to show that small, but perfectly formed, grey sheep how I was getting on.


Elinor took a critical look at the latest arrivals.
"Well, Beaut, this one isn't shy about showing her petticoat."
"Oh, Harriet is hurrying to the Halloween party at Crafts by the Sea.  The big end went on her broom, so she kicked up her skirt, hung onto her hat and ran for it." Smiling in a superior fashion, I continued "What a good job she wasn't wearing stilettos."
"A party?"  Elinor shot towards the door.  Neatly deflecting my point about appropriate footwear, she called back over her shoulder 
"Kick up your heels, these hooves were made for dancing. Come on girls, follow me!"


If you can't get to the craft shop and would like to have a witch at your Halloween party, they are £12.50 plus p+p, order by emailing me at tribulation2013@gmail.com

Friday, 7 October 2016

Contact Printing with Dye Plants onto Canvas

When dye plant flowers and leaves are rolled in fine silk, their colours penetrate through the fabric while it simmers, so an intense colour, such as the deep orange of a coreopsis flower will appear in a repeating pattern, a little paler on each overlying layer of the roll. Dye plant prints on rolled up silk scarves form a palimpsest of all the leaves and flowers within the roll. Experimenting on cotton shirts, I found the thicker weave prevented dye from an individual leaf or flower from seeping through much more than one layer, so once unrolled, a print looked nearer to the original lay out of the plants, less complex, more controllable.  
Well, controllable in principle.  In practice, a heavy linen shirt I dyed contact prints on earlier this year ended up with lovely sharp images of coreopsis sprigs and madder root - if you were looking at the inside of the shirt.  Rather than wear it inside out, I cut sections of the best bits and put them in picture frames, thinking the linen weave looked much like an artist's canvas.

Reading up on this, I learned that canvas is a strong, coarse, unbleached cloth made from plant fibres such as hemp and flax, so it is much the same sort of fabric as linen, only heavier still.  Turning some stored fleece out of an old canvas shopping bag, though it was a bit grubby and one of the seams had split, I decided to wash and mend it purely because it was a plain bag with no printed logo, just natural coloured canvas.  That was early last August, when I had a wealth of fresh dye plant material to pick and a pot of aluminium acetate solution left over from mordanting those shirts. When I have measured out 10% of the weight of wool or silk to make an alum mordant, only half the alum in the pot gets used up, so I can successfully mordant half as much fibre again, using the same solution.  Turned out the same applied to my 5% of aluminium acetate for mordanting the weight of the cotton shirts - simmering the used solution again with one canvas bag in the pot mordanted it perfectly well.


In order to get contact prints that would show best on the outside of the bag, I turned it inside out and put madder roots and flowering dye plants inside - coreopsis, yellow cosmos, dyers chamomile and side shoots of weld.  The bag was rolled around a section of plastic down pipe and tied up with string that had been soaked in iron solution.

Simmered for an hour or two, dangling from the cooker hood into an afterbath of yellow cosmos with alkali, to make the lowest section a rich terracotta, the roll was then turned the other way up, simmered in an afterbath of chamomile and left to soak overnight. Once the sodden canvas had dried out in the sun, it could be unrolled and turned back the right way out.

Though the fabric wouldn't steam iron smoothly, even after a good rinse and a run through the washing machine, the plants had printed strongly and fairly cleanly onto the canvas.  I knew this was definitely a big bag success when my daughter promptly packed it to take away on a trip to Amsterdam.  I bought some more plain canvas bags, mordanted them and went into production, dyeing three at once.  In the process, I've had another lesson rammed home.  People write that you have to wait til plant contact prints have 'cured' and some say ecobundles should be left for weeks. 
Not being good at waiting, the bag on the left was unrolled and rinsed while still damp, just so I could show off to a visitor.  Next to it is a bag which was allowed to dry out completely before unrolling.  I have become somewhat more patient since spotting the difference.

Now the dye plants are being allowed to run to seed, the nights are finally growing cooler and if I don't use up the last Japanese Indigo plants sharpish, there won't be any blue left in them. One last project from September. Curtain fabric, 20% linen and 80% cotton, proved heavy enough to keep contact plant dyes pretty much exactly where the plants were laid, with only minimal
bleeding through layers when rolled, yet was soft enough to take precise prints and also iron nice and flat afterwards. Dipping side shoots of weld into a jar of iron solution made them print clear greens instead of yellow.  I used this fabric to re-cover an old Lloyd Loom trunk for himself's birthday. Now it holds all the cycling paraphernalia he had cluttering up the house.