It is officially Wool Week in the UK from 6th to 12th October. Having spun 1.2kg raw weight of Welsh Black Mountain X Gotland fleece during the Tour de Fleece, I was determined to have it knitted up into a hoody for my son before this week was over. Had to abandon Plan A when I realised I had miscalculated and knitted the whole of the body tube too narrow. Since my daughter is about the right size, I carried on knitting, using symbols on the yoke suited to a student of engineering. Knitted on some more, making a long tubular neck, then closed the top and steeked it to fit a zip. A hoody after all, called Calculus, because it all worked out in the end. The yarn would have run out before I finished a larger item and what's more, my son would never have been so good natured as to pose while I took photos.
Materials
840g (1110m or 1213 yards) double knitting yarn for main colour
50g (65m or 71 yards) double knitting yarn for pattern
As the knitting will be cut and steeked, it would be safest to choose a yarn that will felt a bit when washed. I'd guess at least 50% wool, but you could test out the steek's stability on your tension gauge piece.
4mm circular needle, long cord for the body, I prefer to change to a shorter one when doing the sleeves. 4mm needle for holding the top of the pocket and stitch holders.
Blunt needle for weaving in ends and doing Kitchener stitch.
3.5mm crochet hook and scissors for steeking.
50cm zip, matching cotton and needle to sew it in.
Tension
18 stitches and 28 rows to 10cm square after washing.
My knitted fabric got a little wider and 5% shorter after washing, so the pattern has reminders to self to knit the intended measurements that much longer.
Final Size
(Medium)
Chest 96cm (38")
Body length to armpit 42cm (16.5")
Sleeve - cuff to armpit 48cm (19")
Cuff circumference 20cm enlarging to 36cm at join to yoke.
Front pocket 20cm long
Hood 30cm high.
Abbreviations
k1p1 = knit one purl one
k2tog = knit 2 stitches together
m1left = increase by making 1 stitch left
m1right = increase by making 1 stitch right
p2tog = purl 2 stitches together
s1k1psso = slip one, knit one and pass the slipped stitch over the knit stitch
Body
Cast on 198 stitches on a 4mm circular needle. Join into a circle, placing a marker at the beginning of the round and work in k1p1 rib for 20 rounds. Next, knit 10 rounds of stocking stitch, which is knit stitches only in a circular piece.
To make front pocket
From start of round, knit 10, place another marker, knit 79 and turn, pulling a length of cable out from the bunched up knitting beyond, to free the pocket front to be worked separately from the main piece. Purl back to the marker and turn again, pulling through another length of the circular needle cable.
Next row *s1k1psso then knit to last 2 stitches and k2tog (77 stitches).
Turn and purl back* repeat from * to * twice more (73 stitches).
Knit and purl alternate rows in stocking stitch until pocket front measures 20cm (+5% for shrinkage =22.5cm) then transfer stitches to a holder.
To make the inside of the pocket and the lower body

Take a new ball of yarn and cast on 81 stitches onto the right of the circular needle, then working back and forth, purl row followed by knit row, make 10 rows. On the eleventh row (wrong side facing) p2tog purl to last 2 stitches and p2tog. Turn, knit across the 79 remaining stitches and continue straight on knitting round the main body and rejoining the circle. When you have knitted about 10cm more of the body, sew the cast on edge of the pocket lining against the upper edge of the ribbing on the wrong side of the body, so it is all held in its final alignment. Continue knitting in rounds until the tube of the body reaches the same height as the top of the pocket. From the marker at the beginning of the next round, k13.

Transfer the 73 stitches of the top of the pocket from their holder to a 4mm straight knitting needle and knit one from this needle together with one stitch from the main body until all stitches are off the straight needle and the top of the pocket has been joined to the main body tube.
Continue knitting rounds until the body measures 42cm (+ 5% for shrinkage = 46cm).
From the start of the next round, k95, cast off 8 for the right armpit, k91 and cast off 8 for the left armpit, moving the marker for the start of the round from the fifth cast off stitch and replacing it on the first stitch beyond the armpit. Knit 91 to the start of the right armpit.
Sleeves
Knit two the same.
On a 4mm circular needle, cast on 58 stitches. Place marker for beginning of round and work in rounds of k1p1 rib until cuff measures 6cm (+5% for shrinkage = 6.3cm).
Knit 8 rounds. On the next and on the 10 following ninth rounds, starting at the round marker, work increase rows as follows
k2 m1left, k to last 2 stitches m1right k2. Total 72 stitches.
Continue straight until sleeve measures 48cm (+5% for shrinkage = 50.4cm).
On the last round, knit to the last 4 stitches before the marker and cast off 8 stitches, removing the marker.
Yoke
Comprises 91 stitches along the front, 72 stitches around the right sleeve, 91 stitches across the back and 72 stitches around the left sleeve = 326 stitches.
With the front pocket of the main piece facing you, the working yarn is at the right armpit. Hold the cast off stitches of one sleeve aligned with the cast off stitches on the body, place a marker and knit on round the right sleeve, place a marker and continue along the back to the cast off stitches. Hold the cast off stitches of the other sleeve in alignment with the left armpit, place a marker and work round the left sleeve from the back to return to the original marker for the start of the round.
Shaping the Underarms
In the next three rounds, after each marker k2 s1k1psso and 4 stitches before each marker, k2tog k2 (302 stitches).
In the next 12 rounds, repeat the same decreases on alternate rounds (254 stitches).
Knit one more round removing all markers except at the beginning of the round and decreasing one stitch at the centre of each shoulder (252 stitches).
Pattern
Using the contrast colour skein for the black squares, begin knitting the chart (from the bottom right X going left) starting at the round marker and repeating the pattern 21 times within each round. Don't forget to keep the unused colour yarn nice and loose behind the knit stitches and twist it in to the working thread if the pattern has more than two consecutive stitches of the other colour. I used markers to show where each repeat begins. The squares marked / \ are two stitches to be knitted together in that round. The first 12 stitch repeat block is the symbol for infinity, the second 11 stitch repeat block represents binary, the third 10 stitch repeat block is the symbol for 'approximately equal' and the last 9 stitch block indicates field range.
32
|
|
|
|
|
|
|
|
/
|
\
|
|
31
|
|
|
|
|
|
|
|
|
|
|
30
|
|
|
|
|
|
|
|
|
|
|
29
|
|
|
|
|
|
|
|
|
|
|
28
|
|
|
|
|
|
|
|
|
|
|
27
|
|
|
|
|
|
|
|
|
|
|
26
|
|
|
|
|
|
|
|
|
|
|
25
|
|
|
|
|
|
|
|
|
/
|
\
|
|
24
|
|
|
|
|
|
|
|
|
|
|
|
23
|
|
|
|
|
|
|
|
|
|
|
|
22
|
|
|
|
|
|
|
|
|
|
|
|
21
|
|
|
|
|
|
|
|
|
|
|
|
20
|
|
|
|
|
|
|
|
|
|
|
|
19
|
|
|
|
|
|
|
|
|
|
|
|
18
|
|
|
|
|
|
|
|
|
|
|
|
17
|
|
|
|
|
|
|
|
|
|
/
|
\
|
|
16
|
|
|
|
|
|
|
|
|
|
|
|
|
15
|
|
|
|
|
|
|
|
|
|
|
|
|
14
|
|
|
|
|
|
|
|
|
|
|
|
|
13
|
|
|
|
|
|
|
|
|
|
|
|
|
12
|
|
|
|
|
|
|
|
|
|
|
|
|
11
|
|
|
|
|
|
|
|
|
|
|
|
|
10
|
|
|
|
|
|
|
|
|
|
|
h
|
|
9
|
|
|
|
|
|
|
|
|
|
|
|
|
8
|
|
|
|
|
|
|
|
|
|
|
|
|
7
|
|
|
|
|
|
|
|
|
|
|
|
|
6
|
|
|
|
|
|
|
|
|
|
|
/
|
\
|
5
|
|
|
|
|
|
|
|
|
|
|
|
|
4
|
|
|
|
|
|
|
|
|
|
|
|
|
3
|
|
|
|
|
|
|
|
|
|
|
|
|
2
|
|
|
|
|
|
|
|
|
|
|
|
|
1
|
|
|
|
|
|
|
|
|
|
|
|
|
|
|
|
|
|
|
|
|
|
|
|
|
X
|
 At the end of the 32 charted rounds, 168 stitches remain.
Knit 4 rounds and on the fifth, decrease one stitch in every 8 stitch repeat (147 stitches).
Knit 4 rounds and on the fifth, decrease one stitch in every 7 stitch repeat (126 stitches).
Knit 2 rounds and on the third, decrease one stitch in every 6 stitch repeat (105 stitches).
Hood
Knit rounds until the tube for the hood is 10cm long (+ 5% for shrinkage = 10.5cm). Move the marker to the centre stitch at the back. As you knit the next 9 rounds, when you reach the marker, m1left, slip marker, k1 m1right. Continue knitting a further 15cm of the wider tube, then decrease as follows.
Knit to 10 stitches before marker and place another marker, sl1k1psso, k8 remove marker k9 k2tog and place a marker. *Knit round to the first marker, sl1k1psso knit to two stitches before second marker and k2tog.* Repeat for * to * until there is only one stitch between the markers and remove them.
Cut yarn, leaving 1.5m for closing the top of the hood and thread it on a darning needle. Hold the two ends of the circular needle parallel and use Kitchener stitch to anneal the two sides of the knitting seamlessly, just like the toe of a sock. Fasten off when the top of the hood is closed, leaving a loose end of yarn to mark the spot.
Steeking
This was my first time cutting into knitting and I was highly anxious about the whole thing unravelling. On this account, the following steek is secured in three different ways, which is probably more than was really needed. This link takes you to a series of interesting articles on steeking and a step by step tutorial to the first crochet stitch I used.
Using the contrast yarn, make a starting loop on the 3,5mm crochet hook and starting to the right of the fastened off hood closure stitch, working from the outside of the hood, follow Kate Davies' instructions for crocheting one side of the central column of knitting stitches to the adjacent side of the next column. At the level of the Binary Pattern, make a couple of crochet stitches to turn 180 degrees and work back up
binding the other side of the midline column of knitted stitches to the adjacent side of the column on the left. To be doubly secure, I follwed this with a second steek method, a chain of crochet stitches worked through the knitting with the yarn held at the back, pulling a loop through one stitch, pulling a loop through the next stitch, then slipping the first loop over it and off the hook.
The chain runs all the way round, encircling the edge of the first steek crochet rows.
Weave in any loose ends on the knitting and steeking, sew up the armpits and wash the hoody. While it is damp, cut the steek, snipping the transverse thread of each knit stitch where it runs between the inner edges of the primary crochet steek rows.

 Pin a 50cm zip into the slit, block out and leave to dry before sewing in the zip as the final steek reinforcement. This hoody can be worn with the zip done up right to eye level in cold weather, though my daughter wore it open, which I think looks really good.
 Calculus is the mathematical study of change.
I can't even get a stitch count right, but the Calculus Hoody can differentiate, hood up or hood down, zip open or zipped shut, concordant with a change in the weather.

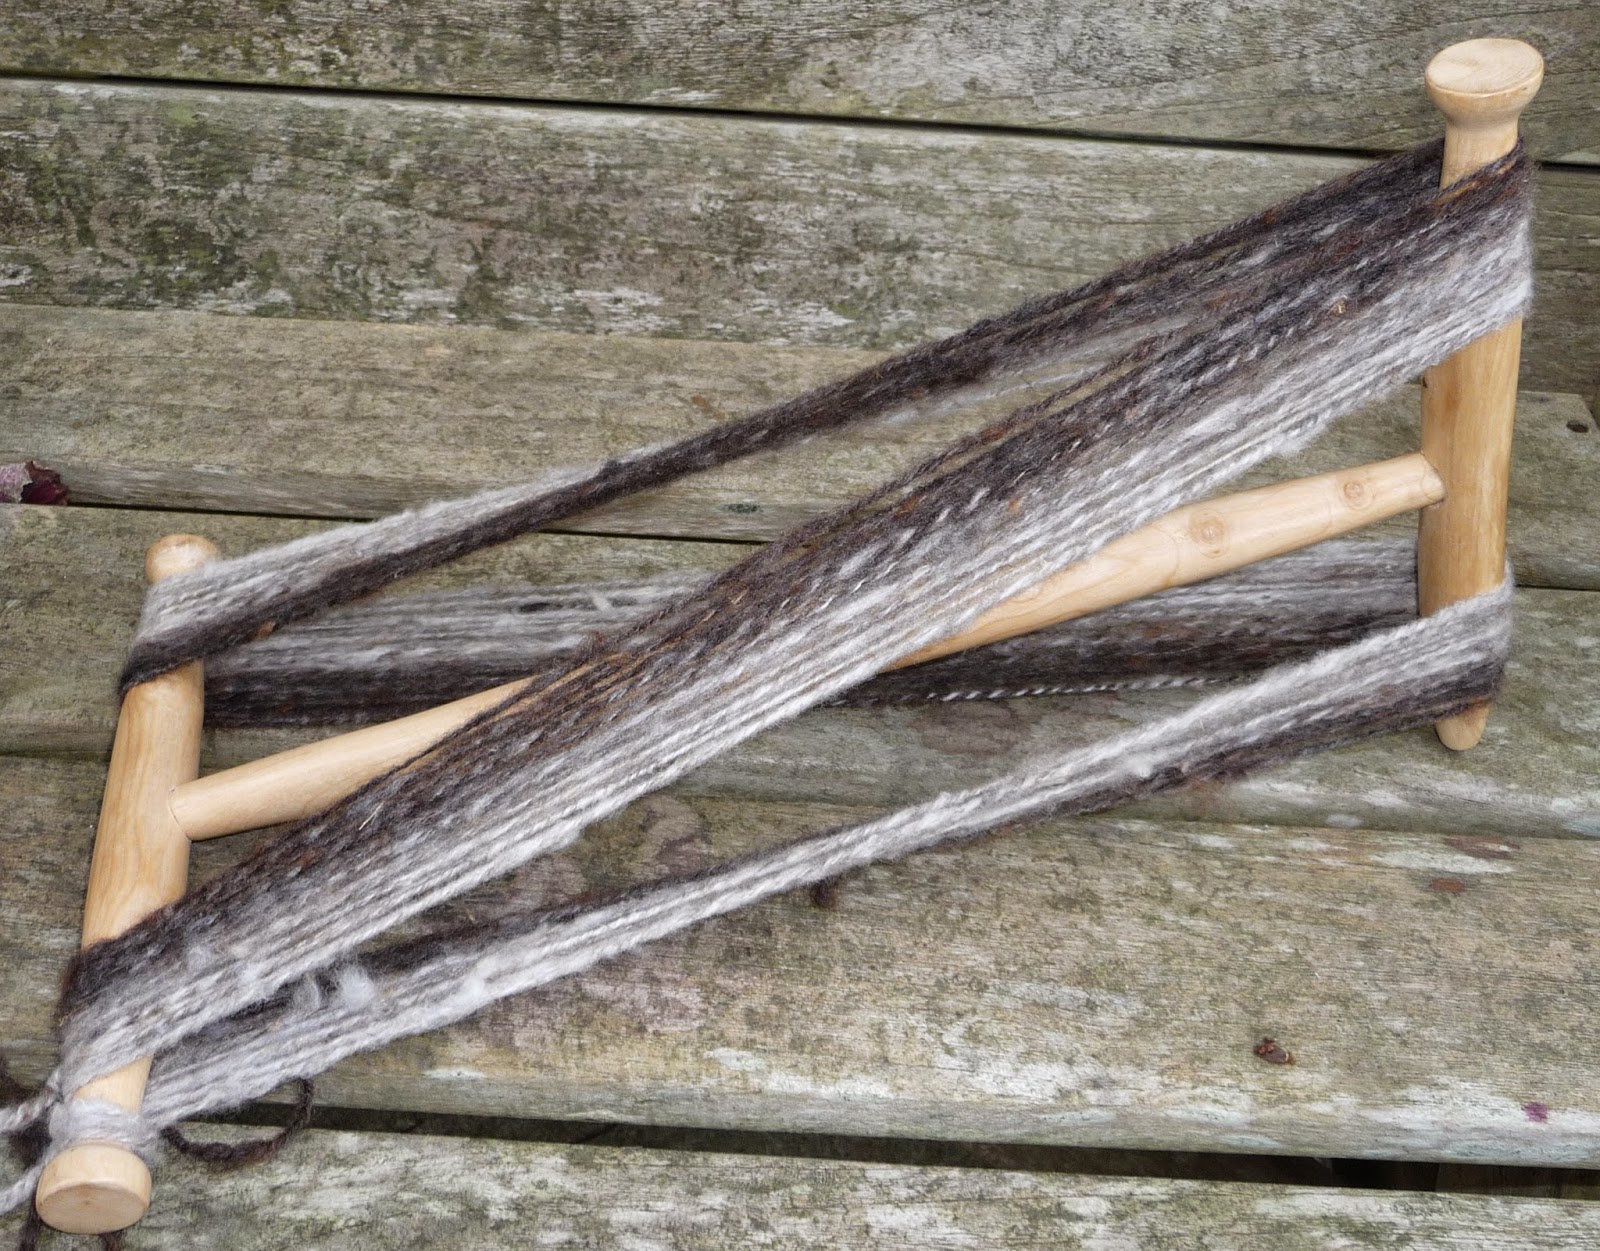
 This yarn is spun from a 100g batt of North Ronaldsay fleece from The Spinning Barn at Spotty Pig Farm. It had a soft, short grey base mixed with a halo of fine dark hairs and was lovely to spin, so good tempered. I brought it to spinning camp and learned how to tear off a 10cm length, lay on a few tufts of coloured fluff and roll the whole lot into a sort of rolag. The coarser, coloured fibres drafted out in random clumps, adding texture and setting off the grey.
 Snakes and Ladders


 Now all you need is a lovely niece to wear it.