

Materials
4mm knitting needles
12 x 50g balls double knitting wool (130m per ball)
darning needle for sewing up
Tension
In stocking stitch, 20 stitches and 28 rows = 10cm2 after putting the swatch through a machine wool wash. Washing always changes the original knitting dimensions of my homespun wool and I found the high percentage of alpaca in this yarn shrank similarly. After washing, the width got a tiny fraction wider and the length reduced by 12%.

Instructions are for one size only - large. The diagram shows the finished, washed sizes of each piece. Where the instructions give a target length to knit, there is a reminder to future self to adjust this (approximately) for the shrinkage expected from a different yarn.
Instructions are for one size only - large. The diagram shows the finished, washed sizes of each piece. Where the instructions give a target length to knit, there is a reminder to future self to adjust this (approximately) for the shrinkage expected from a different yarn.
Pocket Linings
Cast on 25 stitches and work in stocking stitch til the length is 14cm (+12% = 15.5cm) finishing on a right side row. Make two and save on a spare needle.
Right Front
Cast on 85 stitches. Work 6 rows of knit 1 purl 1 [k1p1] seed stitch to make the bottom border.
Row A (k1p1) for 20 stitches then k 65.
Row B p 64 stitches (k1p1) for 20 stitches k1
Repeat rows A and B til work measures 19cm (+12% = 20.5cm)
To make the pocket edge
Row C (k1p1) for 20 stitches, k 9 then (k1p1) for 24 stitches and k 31
Row D p 31 then (k1p1) for 24 stitches, k1 p8 then (k1p1) for 20 stitches k1
repeat rows C and D one more time
Next row - (k1p1) for 20 stitches, k8, cast off 25 stitches in k1p1 and k31
To add in pocket lining, p31, purl across the 25 stitches of a pocket lining piece, then on the main piece p8 and (k1p1) for 20 stitches k1.
Repeat rows A and B til work measures 45cm (+12% = 51cm)
On final purl row, cast off first 6 stitches (leaves 79 stitches)
To form armhole shape
Row E (k1p1) for 20 stitches then k to last 4 stitches, knit 2 together [k2tog] k2
Row F purl to last 21 stitches, (k1p1) for 20 stitches k1
Work rows E and F 10 times in total (leaves 69 stitches)
Continue straight up without any more reductions, keeping front border seed stitch pattern going, until armhole measures 24cm (+12% = 27cm). On last purl row, cast off 14 stitches, which will be the shoulder seam (leaves 55 stitches).
Continue in pattern, making the collar until it measures 14cm (+12% = 15.5cm). Cast off. Sew pocket lining to back of work.
 I am a late convert to blocking - that is, washing pieces of knitting and pinning them out flat to dry. Once I had made the right front, I was anxious to make sure I had calculated the shrinkage correctly. Also, I was worried the clever idea of doing a wide seed stitch front edging had come up shorter than the stocking stitch, warping the fabric. I pinned it out flat while damp, lightly with no real tension. It dried pretty much the size and shape I planned, as shown here with the unwashed left front.
Row A (k1p1) for 20 stitches then k 65.
Row B p 64 stitches (k1p1) for 20 stitches k1
Repeat rows A and B til work measures 19cm (+12% = 20.5cm)
To make the pocket edge
Row C (k1p1) for 20 stitches, k 9 then (k1p1) for 24 stitches and k 31
Row D p 31 then (k1p1) for 24 stitches, k1 p8 then (k1p1) for 20 stitches k1
repeat rows C and D one more time
Next row - (k1p1) for 20 stitches, k8, cast off 25 stitches in k1p1 and k31
To add in pocket lining, p31, purl across the 25 stitches of a pocket lining piece, then on the main piece p8 and (k1p1) for 20 stitches k1.
Repeat rows A and B til work measures 45cm (+12% = 51cm)
On final purl row, cast off first 6 stitches (leaves 79 stitches)
To form armhole shape
Row E (k1p1) for 20 stitches then k to last 4 stitches, knit 2 together [k2tog] k2
Row F purl to last 21 stitches, (k1p1) for 20 stitches k1
Work rows E and F 10 times in total (leaves 69 stitches)
Continue straight up without any more reductions, keeping front border seed stitch pattern going, until armhole measures 24cm (+12% = 27cm). On last purl row, cast off 14 stitches, which will be the shoulder seam (leaves 55 stitches).
Continue in pattern, making the collar until it measures 14cm (+12% = 15.5cm). Cast off. Sew pocket lining to back of work.
Left Front
As for Right Front, with the following reversals.
Left Row A knit 65 (p1k1) for 20 stitches
Left Row B (k1p1) for 20 stitches, k1 p 64
To make the pocket edge
Left Row C k31 (p1k1) for 24 stitches k10 (k1p1) for 20 stitches
Left Row D (k1p1) for 20 stitches k1 p9 (k1p1) for 24 stitches k1 and p31
Next row - k31, cast off 25 stitches in k1p1 and k10 (p1k1) for 20 stitches.
To add in pocket lining, (k1p1) for 20 stitches k1 p9, purl across the 25 stitches of a pocket lining piece, then on the main piece p30.
Repeat left rows A and B til work measures 45cm (+12% = 51cm)
On final knit row, cast off first 6 stitches (leaves 79 stitches)
To add in pocket lining, (k1p1) for 20 stitches k1 p9, purl across the 25 stitches of a pocket lining piece, then on the main piece p30.
Repeat left rows A and B til work measures 45cm (+12% = 51cm)
On final knit row, cast off first 6 stitches (leaves 79 stitches)
Left Row E k2 slip1 k1 pass slipped stitch over [psso] k55 (p1k1) for 20 stitches
Left Row F (k1p1) for 20 stitches k1 purl to end
When armhole measures 24cm (+12% = 27cm), cast off 14 stitches at the beginning of the next knit row before finishing as for Right Front.
Back
Cast on 95 stitches. Work 6 rows of knit 1 purl 1 seed stitch to make the bottom border.
Continue in stocking stitch til work measures 45cm (+12% = 51cm).
To shape armhole
Cast off 6 stitches at the beginning of the next two rows (83 stitches remain).
Row G k2 slip1 k1 psso knit to last 4 stitches k2tog k2
Row H Purl
Repeat rows G and H three times in total (77 stitches remain).
Continue straight up in stocking stitch without any more reductions, until armhole measures 16cm (+12% = 18cm).
To make angled shoulder seams, repeat rows G and H eight times in total (61 stitches remain).
Cast off.
Sleeves
Cast on 51 stitches. Work rows of knit 1 purl 1 seed stitch to make the cuff 10cm deep (+12% = 11cm). Knit one row, purl one row.
On the following row and every tenth row thereafter, increase as follows:
Knit 2, make one right, knit to last 2 stitches, make one left, knit 2.
After nine increase rows, stitch count = 69.
Continue in stocking stitch until sleeve measures 42cm (+ 12% = 47cm), finishing on a purl row.
Cast off 6 stitches at the beginning of the next two rows (57 stitches remain).
Shape the top of the sleeve by reducing on the next 18 right side rows as follows:
Knit 2, slip 1 k1 psso, knit to last 4 stitches, k2tog k2 (21 stitches remain)
You are now on a wrong side row. For Right Sleeve, shape top as follows:
Purl to last 2 stitches, p2tog.
K2tog, knit to last 4 stitches k2tog k2
Repeat until 11 stitches remain, k2tog and cast off.
For Left Sleeve, shape top as follows:
P2tog, purl to end of row
k2, slip 1 k1 psso, knit to last 2 stitches and k2tog.
Repeat until 11 stitches remain, cast off, knitting last 2 stitches together.
 Lay out the joined front pieces with the top edge of the back panel matching the base of the collar and pin its angled edges along the 14 cast off stitches on each side. Sew together from the end of the shoulder seam, across the back and down the other shoulder seam.
On the following row and every tenth row thereafter, increase as follows:
Knit 2, make one right, knit to last 2 stitches, make one left, knit 2.
After nine increase rows, stitch count = 69.
Continue in stocking stitch until sleeve measures 42cm (+ 12% = 47cm), finishing on a purl row.
Cast off 6 stitches at the beginning of the next two rows (57 stitches remain).
Shape the top of the sleeve by reducing on the next 18 right side rows as follows:
Knit 2, slip 1 k1 psso, knit to last 4 stitches, k2tog k2 (21 stitches remain)
You are now on a wrong side row. For Right Sleeve, shape top as follows:
Purl to last 2 stitches, p2tog.
K2tog, knit to last 4 stitches k2tog k2
Repeat until 11 stitches remain, k2tog and cast off.
For Left Sleeve, shape top as follows:
P2tog, purl to end of row
k2, slip 1 k1 psso, knit to last 2 stitches and k2tog.
Repeat until 11 stitches remain, cast off, knitting last 2 stitches together.
To Make Up
Sew the top of the two front pieces together, forming the back midline of the collar.

Make sure you are fitting each sleeve to the correct side of the cardigan. Pin the 6 cast off stitch edge on either side of the sleeve top to the matching 6 stitch cast offs at the bottom of the armhole shaping on front and back pieces. Pin the shaping of the sleeve top into the armhole, remembering that the shoulder seam is not central, but further back along the curve. Sew into place.
Seed stitch on cuffs and front border mean that they are pretty from both sides. Hopefully, the seed stitch edging at the bottom and along the pocket tops will stop them curling up.

 I've been wearing it to work and it is exactly what I like in a cardigan. The yarn is soft and warm, being 66% alpaca, so, many thanks are due to TOFT for giving me the fleece. I think the shading from the blend with 33% Jacob fleece has knitted up into a sophisticated version of the rustic look I most admire in natural yarn. Compare it to the Huxtable Jumper. I made that a year ago, with my first ever fleece. Like this Jacob, that one came from Huxtable Farm.
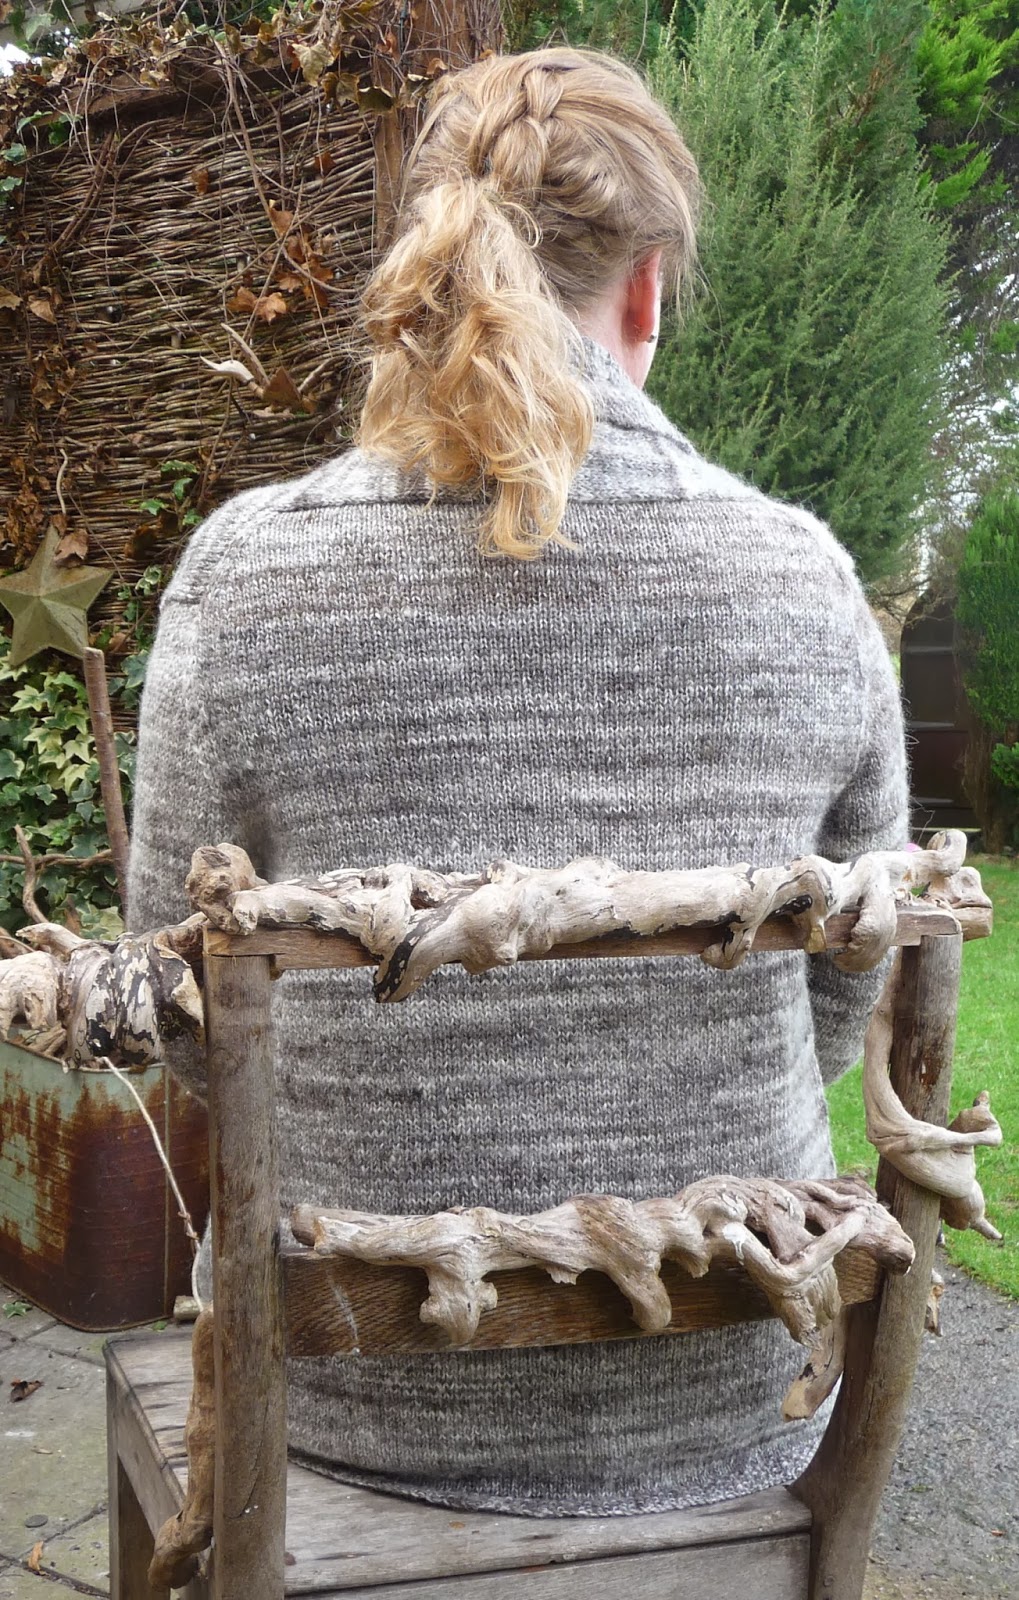 I sound, and indeed, today I am very self congratulatory. I'd say I've come on a bit in a year of wool tribulations. Round to BG's house to drink her tea, show off and get her to take photos. From the back, see, I did copy the shoulders pretty much like the old cardi. And the extra length does keep the draft off, as planned.
 What a smug blogger. Now I am bound to bugger the next thing up.
I like it very much.So comfortable ans good looking!
ReplyDeleteAnd with instructions ♥
Anne
I'm amazed at how much you've achieved in the past year, and while working too. You make me feel quite lazy! Your cardigan is brilliant and really suits you. I'm not surprised you're feeling smug!!
ReplyDeleteOO ta - I'm still in the throes of obsession, sooner or later will slow down. The kids suppose wool to be a substitute for their departure - actually, I like it a great deal more than cooking tea, doing lifts and standing on touchlines in all weathers.
DeleteWow, I'm blown away with what you've managed to produce here, pattern etc. having only started spinning just over a year ago - Too right you should be feeling smug with yourself :)
ReplyDeleteIt's lovely to see what the Huxtable Farm Jacob fleeces are created into.
Lambing has just started here, my favourite time of year, it's a miracle to see the new born lambs and think that there little coats will end up keeping us warm in one way or another sometime in the future.
For spinners this years fleeces will be available in June but I also have some washed & carded fleece ready for spinning.
For knitters I have already machine spun Jacob/Mohair yarn and Jacob/Texel yarn.
Well one Fran, I love your blog x
Hi Jackie, thanks for posting here, I hadn't noticed you sold Jacob/Mohair yarn, but it could well give a similar effect to mine.
DeleteBeautiful work.
ReplyDeleteYou are the maker of that classic sheep ornament! Looking at your blog, I should have known all along it had to be the creation of someone who keeps sheep herself.
DeleteThis comment has been removed by the author.
ReplyDeleteLove the cardigan! Thanks for sharing your instructions :)
ReplyDeleteThanks - blogging a pattern means I can find it again :)
DeleteThis looks fab, but I'm guessing it isn't a beginner's knitting project?
ReplyDeleteHi Miri - this is a very straightforward pattern, just a lot of time spent knitting. When you are starting, it can be encouraging to get a quicker result with a small project in a thicker yarn on big needles. However, if you are up for the long haul, the only bit of this that might be vexing is the top of the sleeves.
ReplyDeleteHi- I am presently working on the first sleeve and ran into a problem. "Cast off 6 stitches at the beginning of the next two rows (57 stitches remain).
ReplyDeleteShape the top of the sleeve by reducing on the next 9 right side rows as follows:
Knit 2, slip 1 k1 psso, knit to last 4 stitches, k2tog k2 (21 stitches remain)" After the cast off of 6 + 6 sts with the remaining 57 sts- decreasing 1 st at each end of the next 9 right side rows equals a total of 18 decrease sts which leaves a total of 39 remaining sts on the needle- not 21. Perhaps, did you mean "19" right side rows? I absolutely love this style cardigan and have enjoyed knitting it. I am going to hold up to the 9 right side rows on a stitch holder, start the other sleeve and await your response. Thanks so much! iris
I am so sorry. I have the cardi on my lap to check against my maths. I should have written 'reducing on the next 18 rows' not 9. That does bring the stitch count down to 21 and matches the sleeve to the front and back sections. I have corrected the pattern and thanks very much for pointing this out.
ReplyDeleteThank you so so much! I can not wait to finish and wear it. Best to you! iris
DeleteJust starting to knit this, it looks like it's going to be great! thanks for the pattern. I'm a bit confused with the making up (not good at written instructions lol) I don't suppose you have any additional photos of how you sew it together? thankyou :-)
ReplyDelete