"Nice pouches, Beaut."
"Oooo, do you like them? They're prototypes for an entrelac basket pattern I've been working on, which has the same basic construction method."
"A pouch or a basket - what would you call such a thing? A POB pattern?"
"Hadn't really thought about it. The curved shape just happened when I made a mistake knitting a flat piece of entrelac, so I could call this the Fortuitous POB Pattern."
"Go native, Beaut, call it 'Pob Lwc'. That means Good Luck in Welsh."
Sometimes my companion comes up with a pearl.
"Love it, Elinor. Happy and snappy."
Materials
This pattern can be used to make any size of pouch or basket (pob) in any weight of yarn. The final roundness depends on washing to cause at least a little felting before the pob is stuffed while damp and left to dry in the desired shape, so your yarn will have to be minimum 50% real wool without superwash treatment. A pob would be a good way to use up small amounts of leftover yarn from other projects if you knitted each of its eight sections in different colours and completed the top with a ninth yarn.
To choose the correct size of long circular needle, twirl three strands of yarn together, match the width of the twirl against the width of a knitting needle, then go down a size and use a needle which is slightly narrower than the three strand twirl. This should knit a reasonably tight fabric to make a secure container after felting. Nothing should be able to work its way out of your pob - that would not be much lwc at all.
To make handles, you will also need two double pointed needles in the same size as your circular needle, which will be used for knitting free lengths of icord, plus scissors and a tapestry needle for finishing.
Size and Quantities
Entrelac is knitted in rectangles and triangles, each of which has the same stitch count. The greater the unit stitch count you choose, the larger your pob will be. To get a fair idea of the final size and the amount of yarn you will need, cast on ten stitches, knit ten rows of stocking stitch and cast off, then wash the piece to felt it slightly. Measure the width of your gauge piece and multiply by six to find the widest circumference that a pob would be if made in your yarn on your size needles with units of ten stitches. The depth of the pob, not including the icord rim, will be about 1.5 times the width of the gauge piece. Use these measurements to decide what your unit stitch count should be to achieve the size of pob you'd like.
Example - your ten stitch gauge piece measures 7cm wide. Therefore a ten stitch unit pob would be 42cm at its widest circumference (the brim will be narrower) and 10.5cm deep (not including brim). You would prefer a larger pob, so now you can calculate that if you use a fourteen stitch unit, that would make a pob of 59cm circumference and 15cm depth.
Weigh the gauge piece and multiply by 12 to find the weight of yarn you would need to make the body of a ten stitch unit pob. The construction lends itself to working in four colours and if you decide to do this, you will need three times the weight of the gauge piece in each colour. You will also need more yarn for making the top of the pob, the amount depending on whether you plan a simple brim or multiple turns of brim plus long handles.
Method
The dotted lines on this schematic show which sections become knitted together in which order. The labels A, B, C and D refer to four colours of yarn if you are working with four colours.
In the following instructions, X represents the number of stitches in a unit.
K = knit
P = Purl
P2tog = purl 2 stitches together
RS = right side
SSK = slip one stitch as if to knit, slip the next stitch as if to purl, then pass the left needle through the front loops and knit the two stitches together
WS = wrong side
Section One
In Colour A, cable cast on X stitches loosely.
P2, turn
K2, turn
P3, turn
K3, turn
continuing as above to KX and then break yarn and tie on Colour B
Section Two
In Colour B, with RS facing, turn work clockwise and pick up X stitches along the knitted edge of Section One
PX, turn
*Knit X stitches, turn and purl back* repeat (X-1) times
Break yarn and tie on Colour C
Section Three
In Colour C, with WS facing, turn work clockwise and pick up X stitches from the edge of Section Two, passing the needle from the RS to the WS so that the new stitches appear on the RS and the selvedge is hidden.
*Knit X stitches, turn and purl back* repeat X times
Break yarn and tie on Colour A
Section Four
In Colour A, with RS facing, turn work clockwise and pick up X stitches along the knitted edge of Section 3.
*Knit X stitches, turn and purl back* repeat X times
Break yarn and tie on Colour D
Section Five
In colour D, with WS facing, turn work clockwise and pick up (X+1) stitches along the edge of Section Four passing the needle from the RS to the WS so that the new stitches appear on the RS and the selvedge is hidden.
K X + 1, turn
*P2tog, P to last stitch, then P2tog last stitch of Section Five with first live stitch of Section Three
K back to end of row* repeat until only 2 stitches remain of Section Five, then purl those two together with the last stitch of Section Three.
Break yarn and fasten off.
At this stage, your work will look like this:
The live stitches of Section Four (on right of photo) now need to be transferred to the opposite needle, which puts that needle into position to pick up stitches from the free edge of Section Four.
Section Six
In Colour D, with RS facing, rejoin yarn and pick up X stitches from the free edge of Section Four.
P X, turn
*Knit to last stitch, then SSK last stitch together with a stitch of Section Two
P back* repeat until you have completed the knit row in which the last stitch of Section Two is used.
Break yarn and tie on Colour C
Section Seven
In Colour C, with RS facing, pick up (X+1) stitches from free edge of Section Two.
*P2tog, P to last stitch, then P2tog last stitch of Section Five with first live stitch of Section Three
K back to end of row* repeat until only 2 stitches remain of Section Five, then purl those two together with the last stitch of Section Three.
Break yarn and tie on Colour B.
Section Eight
In Colour B, with WS facing, pick up (X+1) stitches from free edge of Section Six, passing the needle from the RS to the WS so that the new stitches appear on the RS and the selvedge is hidden.
K (X+1)
*P2tog, P to last stitch, then P2tog last stitch of Section Five with first live stitch of Section Three
K back to end of row* repeat until only 2 stitches remain of Section Five, then purl those two together with the last stitch of Section Three.
Break yarn and fasten off.
 Your work will now look like a shallow box.
The brim will be knitted as an icord bind off, which will draw in the edges and provide a firm and inelastic top for the pob.
Your work will now look like a shallow box.
The brim will be knitted as an icord bind off, which will draw in the edges and provide a firm and inelastic top for the pob.
Basic Brim
In the Brim Colour yarn, with RS facing, pick up (X+1) stitches from the free edge of each of the four triangles using a circular needle. Do not turn your work, continue as if knitting in the round.
Cable cast on three extra stitches from the first stitch on the left needle and knit an icord bind off right round the top of the pob - here is a helpful video tutorial.

To complete the pouches, at the end of the first round of icord, I simply picked up another stitch from the top of the start of the icord before passing all four stitches back to the left needle, knitting two, then knitting two together through back of loops, picking up another stitch from the top of the icord and passing all four stitches back to the left needle. This builds a spiral of icord at the brim of the pob which you can continue to knit for as many rounds as you choose.
To make icord handles, you will need two double pointed needles, here is a helpful tutorial on knitting free icord.
At any point on the brim, knit an icord as long as the handle you want, then loop it in half as you return to the point where you started knitting free cord and continue knitting an icord bind off around the brim.
For a single strap, when you reach the opposite side of the bag, knit an equal length of free icord and pass it through the loop of the first before returning to complete the icord bind off. Sew the two sides of each icord loop together to make a sturdy handle.
For two handles, make four loops, one at each quarter of the brim circumference and interloop each pair.
Sew in ends and put the pob through a hot washing machine cycle to felt it. The misshapen lump that emerges should be tightly stuffed with towels and pummelled into a nice round ball shape, then left to dry.
I used a free Ravelry download crochet daisy pattern to make the decoration on the daffodil dyed basket which is shown near the top of this post. Haven't quite decided what I might add to this silver birch bark dyed shoulder bag. Maybe some green birch leaves?
On the first of April I turned the page of my calendar to see a picture of dandelion dyes. The day was sunny and light of heart with the promise of spring, I grabbed a bag and set off for my usual hunting ground, a wide verge beside the A48.
Sure enough, the grass was ablaze with dandelion flowers. I used to feel horribly self conscious crouching to pick them as fast as I could, imagining people driving past might consider me foolish. This year, that galvanising thought had barely occurred to me before the verge was stripped. Once I got home, I found I had only 700g of dandelions, rather less than the usual kilogramme.
I simmered the flowers for an hour and looked for some fibres to dye. This 200g of super chunky singles wool yarn from World of Wool was mordanted with alum a couple of years ago and has been lurking at the bottom of the basket because I've previously found the white Cheviot yarn didn't seem to take up much from plant dye baths.
The following day, the skeins of yarn were simmered in the dandelion dye bath for an hour and left to cool. The day after that, I hooked them out for a look at the result and my companion, Elinor Gotland, glanced up from doing her crossword.
"Of all the weeds in all of Wales, that is the most weedy yellow you've ever dyed, Beaut."
"Mmm, not enough sunshine yet, not enough dandelions and not the ideal yarn, either. Still, I've not given up hope. This dye bath has been fermenting for a couple of days, it's bound to be acidic. The colour will look better after a rinse in plain water."

Though my companion looked dubious, I wasn't wrong. The skein on the far left of this photo was simply rinsed and dried, the second was reheated in half the dye bath with a splash of iron solution before rinsing and the third was reheated with copper solution, which modifies colour best in an acidic environment. The fourth was originally the grey skein, proving once again that yellow + grey = green.
All four skeins were knitted into an entrelac bag which was felted in the washing machine with colour washing powder. I expected the alkaline powder to intensify the dandelion dye colours even further and I'd say the plain yellow, the grey base and the copper modified greens did get marginally stronger. One surprise, the iron modified skein shifted to a rather beige toned green variation, which hasn't happened before.
I'd never claim to be astonished by beige, that just seems to be the default state for amateur natural dyers. I stared moodily at the beige sections of the bag.
My companion waved a hoof.
"Cheer up Chicken, it's Easter, the family are coming and it's time to hide chocolate in the garden."
Elinor will not be missing a trick from her eagle's nest.
I suspect all my eggs may end up in one basket.
"Have you found the button to turn it on yet, Beaut?"
My companion, Elinor Gotland, always finds my technological ineptitude a source of great entertainment. I bought myself a tablet - absolute bargain - then was appalled to find there were no instructions in the box. Apparently, no-one needs such things these days, it's all 'intuitive'. Eventually, my 'intuition' had led me to search online for directions on how to charge the thing up.
"Are you planning to write your blog on that tablet?"
"No." I blew my nose with a loud and snotty trumpeting sound. "It's first function is going to be carrying a powerpoint presentation to Gloucester. I've been invited to talk to the Guild there about dye plant gardening and I was really looking forward to it, only now I've got a filthy cold and I'm absolutely bloody dreading having to link this thing up to their projector."
"Oh, go on with you. What could be easier? It'll be fine when you get there." Elinor positively skipped across to the kettle. "This is the perfect time for you to talk about growing dye plants. The green fuse has been lit, leaves are about to unfurl from the trees and seeds are bursting to germinate."
I stopped tapping and swiping at the screen of the tablet and shoved it away.
"Feels to me like someone pressed 'pause' on the Spring. That cold East wind is still blowing and I've been rained and hailed on once too often this week. My throat is sore and my head's in the shed. I want to write my blog on the computer, but I've lost the bit of paper with my notes on the knitting pattern for this entrelac tablet cover. What's more, I didn't even remember to take many photos."
My companion passed me a mug of lemon and ginger tea and a box of tissues.
"See what you can remember. The pattern will have to be 'intuitive'. You can always google 'entrelac' if you want to make another."
Materials - four 50g skeins of handspun Shetland wool, high twist, chain plied somewhere between double knitting and worsted weight, dyed with madder, weld and meadowsweet.
3.5mm and 4mm circular needles with a long cord, darning needle for sewing in ends.
Fabric to line the case, needle and thread and two buttons.
Method
Cable cast on 60 stitches loosely on 3.5mm needles. Knit six entrelac base triangles each 10 stitches wide. Changing colour for each row, knit seven rows of entrelac rectangles, then finish with a row of bind off triangles.
I-cord will shrink more in the wash than entrelac fabric. Change up to 4mm needles and pick up 11 stitches from each of the 10 stitch triangles and three extra stitches at each corner. Cable cast on three more stitches and knit an i-cord bind off to edge the entrelac. To make button hole loops, on one of the short sides, knit three added rows of free i-cord at two of the rectangle points.
To felt the fabric, put the piece through a hot cycle in the washing machine and pin it out flat to dry. Cut a piece of material 2cm wider and longer than the knitting, turn back a hem all round and sew it against the inside edge of the i-cord on the wrong side.
Fold the piece into a envelope with a flap, sew the icord edges of the pocket together and set in two buttons in line with the button loops on the flap.
"Ah, brilliant, completely brilliant."
"You've cheered up, Beaut."
"Sally rang me from the Guild. She only knows how to work their projector from her laptop and wondered if I'd mind bringing my presentation on a memory stick. I can stop fussing about with this tablet. All my worries are over."
"Not quite, Beaut. You'll be wanting to crochet a cover for the memory stick before you go."
Delighted to introduce these dye plant cards, which come with gardening instructions and free seeds.
Now available here if you'd like one to send to a friend who'd enjoy natural dyeing.
A sharp East wind kept me out of the garden this week. Thanks to an equally sharp prod from my companion, Elinor Gotland, I have braced myself, got to grips with html coding and set up a Dye Plant Card Shop Page. As well as the gardeners' choices, there are three cards in a 'Live Fast, Dye Young' series; simple instructions are written on the back with a view to encouraging beginners to try natural dyeing.
Here's how the online card shop began ...
Rain poured off the greenhouse roof while inside I gently dripped water onto my dye plant seedlings. My companion,Elinor Gotland, sauntered along the workbench inspecting the trays.
"Looking good, Beaut. What are you going to do with all the extra seeds you saved last autumn? Seems a shame they'll never have their moment in the sun. Assuming we ever get any."
"I'm giving little seed packets away free with every dye plant greetings card I sell at Crafts by the Sea. Advice on sowing, growing and harvesting the plants is written on the back of the cards and people round here seem to be taking to the idea of dye plant gardening. Even so, I've got far more seeds than will ever get planted in local gardens."
"You should try selling those cards online. Send free seeds all over the country."
That idea pleased me very much. So I've set up the online card shop and will see what happens.
Meanwhile, back in Ogmore by Sea ...
A pan of onion skin dye has taken up residence in Crafts by the Sea's kitchen and so far, no eggs have been broken by the kids who come to try their hand at printing small leaves onto eggs. My companion was impressed with the instructions on the Egg Printing card.
"Fair play, you've cornered the market for Easter Cards with this one, Beaut."
"Actually, I think fluffy chicks are still the Craft Shop's best seller."
Elinor looked up from her reading.
"Do you think silver birch bark dye is really suitable for beginners?"
"Well, it does need a dedicated pot for dyeing, but no mordant is needed and I've found I can get away without any heavy duty scouring, just soaking my fibres before dyeing . Plus it makes a lovely looking card."
"True, but Cath's art looks even more gorgeous. Her Dye Garden painting has printed out like a jewel box."
"I went to the same printer as did the Dye Plant Calendar for me last year. FSC Accredited and Environmental Impact Certified and still achieving that lustrous, glowing, quality finish."
Elinor put down the card and moved on.
"What on earth persuaded you to make these two?"
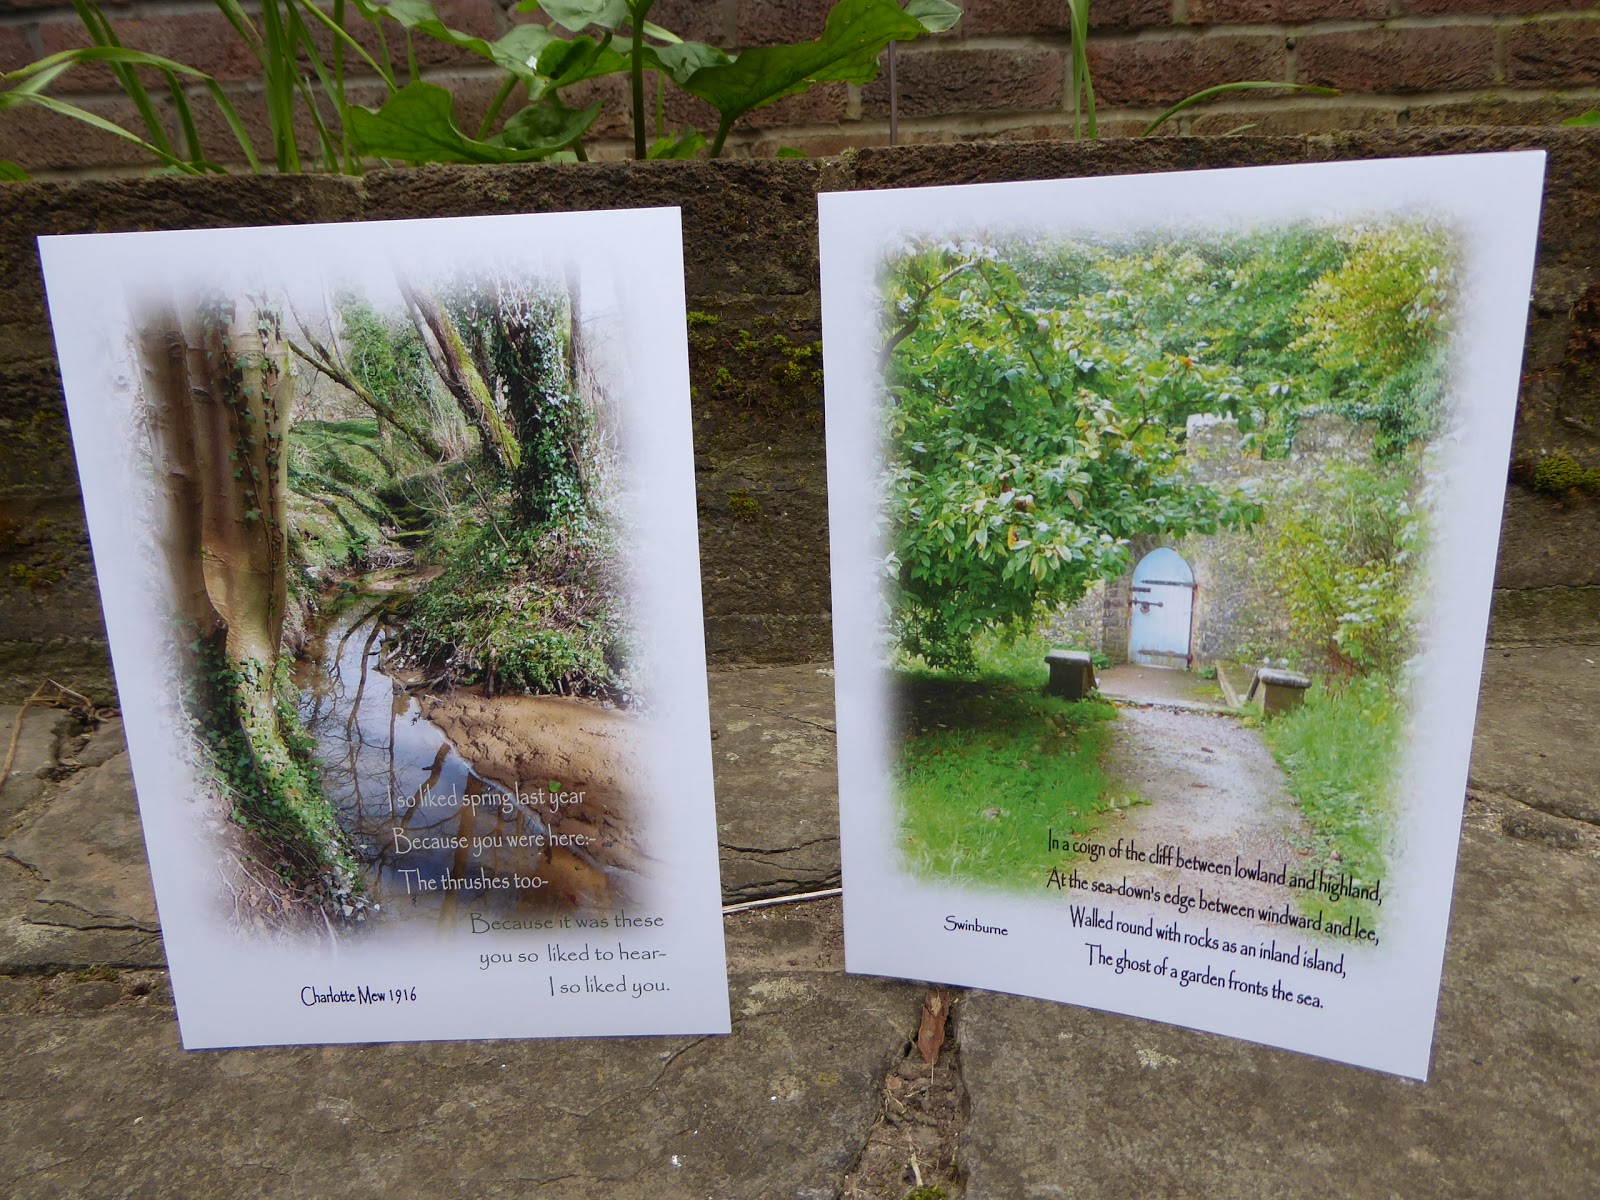
"Oh. The poetry cards. Sentimental, I know. Those are the poems that come to mind whenever I walk in those woods by Merthyr Mawr or Dunraven Walled Garden."
Elinor looked at me askance.
"Surely I can't be the only one who likes a poetic kind of thing?"
"Mmm, well, you're going to find out the hard way."
My companion had reached the last card.
"Speckled Face Beulah sheep? When you could have had a glamorous Gotland in your photo?"
My blood ran cold, how to explain that away?
"Elinor, don't you see, you are of course the 'Missing Ewe'.
To buy any of these cards, click
to get to the Card Shop page.


 Your work will now look like a shallow box.