"Fran, you abysmal chump, I appeal to you once more. Will you please lay off the silk?"
Ewes are not gentlemen.
"It is true that once or twice in the past I may have missed the bus with regard to contact dyeing. This, however, I attribute purely to bad luck." I gave Elinor Gotland one of my looks and tugged the white scarf from her hooves.
I had splashed out on heavy habotai silk, planning to cover two dining chairs, but once scoured and mordanted with 10% alum, the fabric clearly wasn't heavy enough for upholstery. Harking back to my best outcome at leaf printing with hardy geraniums on light habotai silk, I recalled that the whole pageant of glory had sprung from the iron soaked ashes of a disappointing meadowsweet dye bath. The afterbath from my last attempt at dyeing with Black Eyed Susans was sitting in a pot in a similar situation, awash with iron modifier.
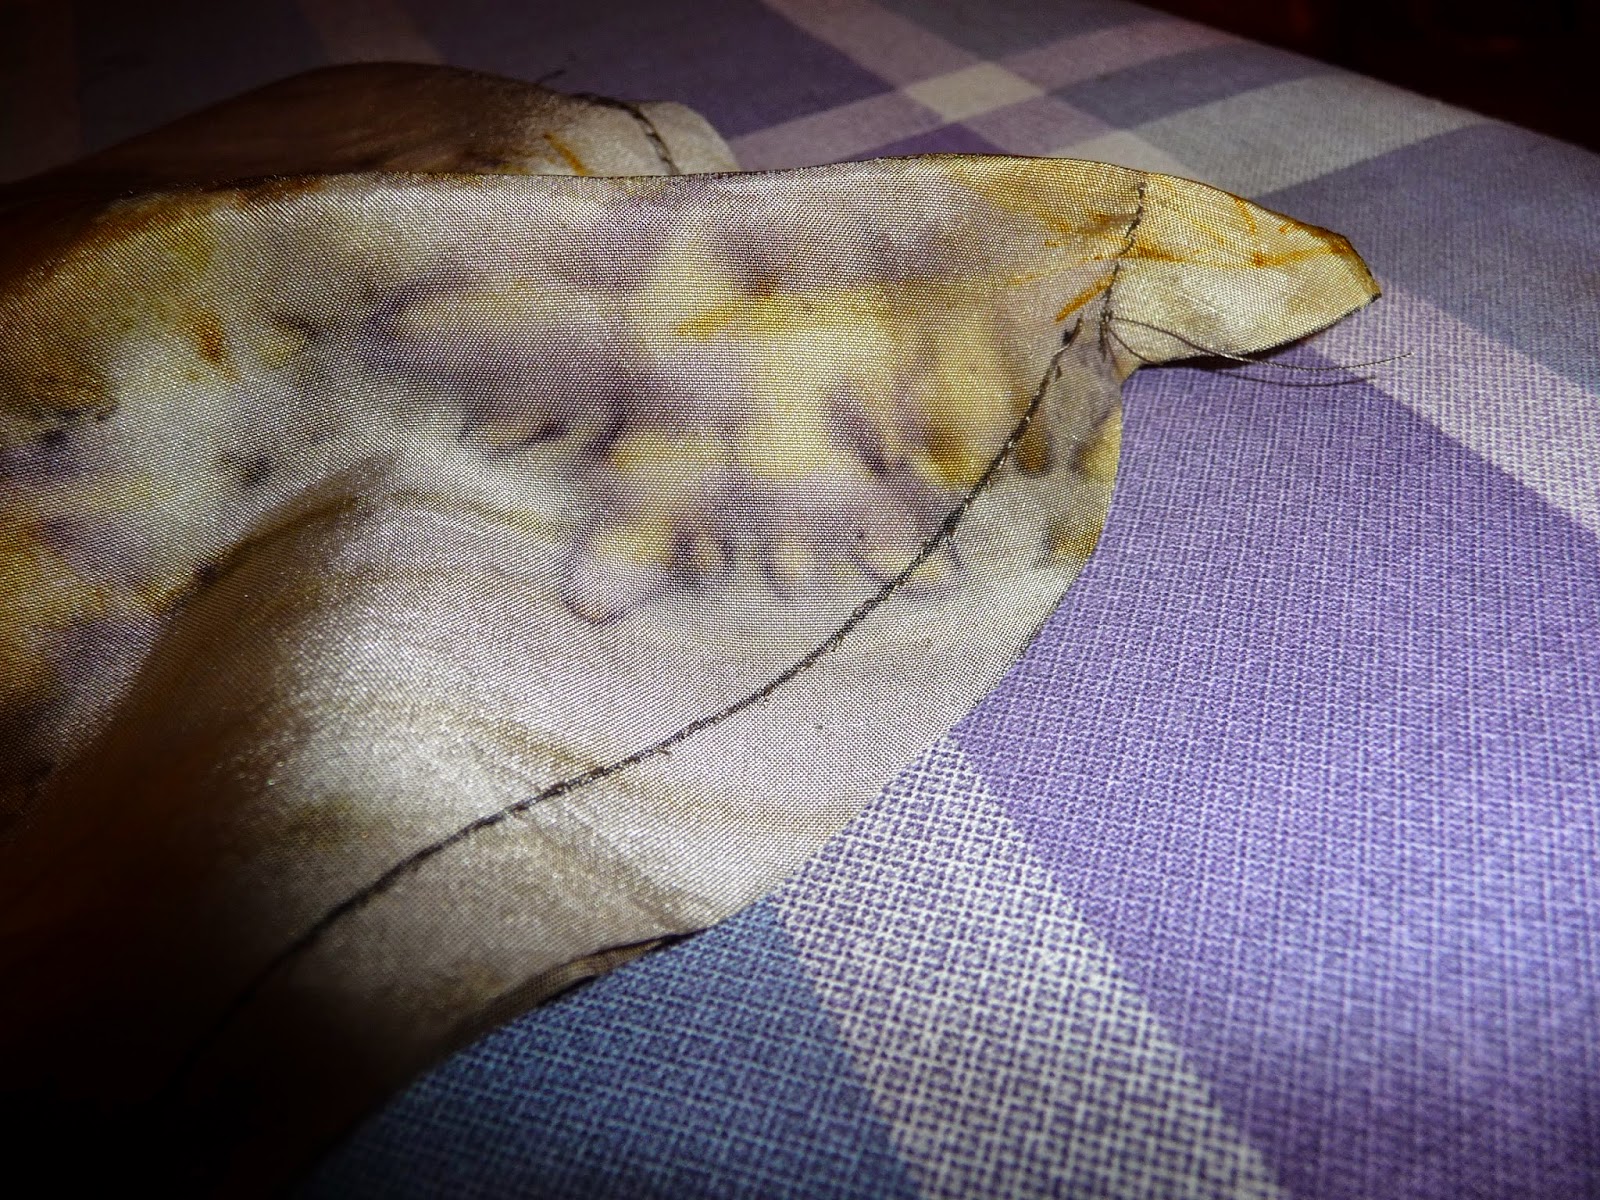
Let fortune favour the bold. It might have cost £15 per metre, but that silk was no good to man nor beast lying in a drawer. The photo shows hardy
 geranium leaves and little budding sprigs of coreopsis laid out on a 30cm wide strip of wet silk. Here they are rolled tightly round a piece of drainpipe before and after a simmer in the remains of the Black Eyed Susan dyebath. The bundle was left to soak overnight and then dried out for 24 hours. Below, untrammeled delight.
The background dye has come out a soft grey/brown, the geranium leaves are more green than they look in the photo and the stalks and buds of coreopsis have printed a sharp edged rusty orange. I was knitting the brow a bit and chewing the lower lip dubiously, but the colours did not run when hand washed with wool wash liquid or when pressed with a steam iron. Elinor Gotland pointed out that I already possess quite a few silk scarves and was in the process of executing a quiet sneak for the door, hindered only by the weight of the fabric. It was then that my daughter whacked out a truly juicy scheme to benefit an in-the-soup mother in her hour of travail. Why not use this to make a silk tie for Steve's birthday?
I unpicked an old tie with stains down the front. Amazingly long, well over the 137cm width of the bolt of silk I cut the scarf from, but on looking closely, the old tie did have two diagonal seams in its length.
Using the old tie as a template, I drew its outline onto the fabric. Silk is a devilish slippery customer to cut.
I even had enough left in this 30cm width to cut the two lining pieces and the loop thingy.
"The tipping and the keeper, Beaut. And I think you'll find no decent, self respecting chap would wear a tie that hasn't been cut on the bias."
The spiritual anguish induced by Elinor's tactless speech was noticeably lessened when it occurred to me that my husband is no Bertie Wooster and has never rejoiced in the services of a valet. He is not undiscerning, but what would really matter was getting the point of the tie right, with that little mitre and fold over before the seam with the tipping.
I did the little end first and could not disguise from myself that something had gone seriously wrong with the mechanics. The old brain had been whizzing along, exceeding the speed limits. Civilisation was in the melting pot and any thinking woman could read the writing on the wall. At length, Elinor, that sartorially exquisite sheep, took pity upon my despair.
"Well, Beaut, your tie is never going to be quite the thing, but fair play, you may as well finish it right now you've started. Hold the tipping and the end of the main tie with right sides facing. Fold both in half down the centre line. Now slide the tipping a bit less than a centimetre out, so that its fold is no longer snug against the fold in the main piece. Then slide it down so that the sloping edges of the two pieces match. Pin the folded pieces together in that position and sew a straight line through the double fold 2cm from the point. Now sew the seams along the sloping sides."
Easy to say, complete fiddle to do. Still, when I turned it inside out and pressed it, the big end had a much better approximation of a mitred seam. The lining was a breeze after all that, just drew around the one from the old tie on an offcut of thick cotton interlining and slotted the ends into the the top and bottom pockets which the two tippings made on the tie.
The lining guides the ironing over of the sides of the silk. One side of the overlap has to be folded in along the middle and pressed, then all there is to do is sew up the centre seam, inserting the keeper. I even sewed it all with silk thread dyed in the same bath. Silk squeaks when you stab it.
"What ho, Elinor! The place is positively stiff with happy endings!"
"I am glad to see that my efforts have been rewarded."
 I wonder if sheep squeak too?


Brilliant tie, love it! Bet he does too.
ReplyDeleteThe acid test will be whether he wears it again.
DeleteIt is a lovely tie, but oh, how I loved the scarf!
ReplyDeletejaki
PS. I found the link to your site via DS... where I am known as Garden Carpet!
ReplyDeleteJaki
I love your process of dyeing is there a tutorial available ...... I'm sure there is. The result you have achieved is truly professional
ReplyDeleteSusanba - on Rav
If you find a good tutorial, do put a link for me? I have had more errors in my trials than I'd prefer when using silk. Most of my past efforts have methods detailed on the blog the first time I use them, so if you wanted to read through, click contact dyeing on the side bar.
DeleteComplex genetics of female fertility - What is female fertility? is and why it is important to talk about in today’s world. Female fertility, and therefore the factors that regulate fertility and number of kids born are of broad general...
ReplyDelete